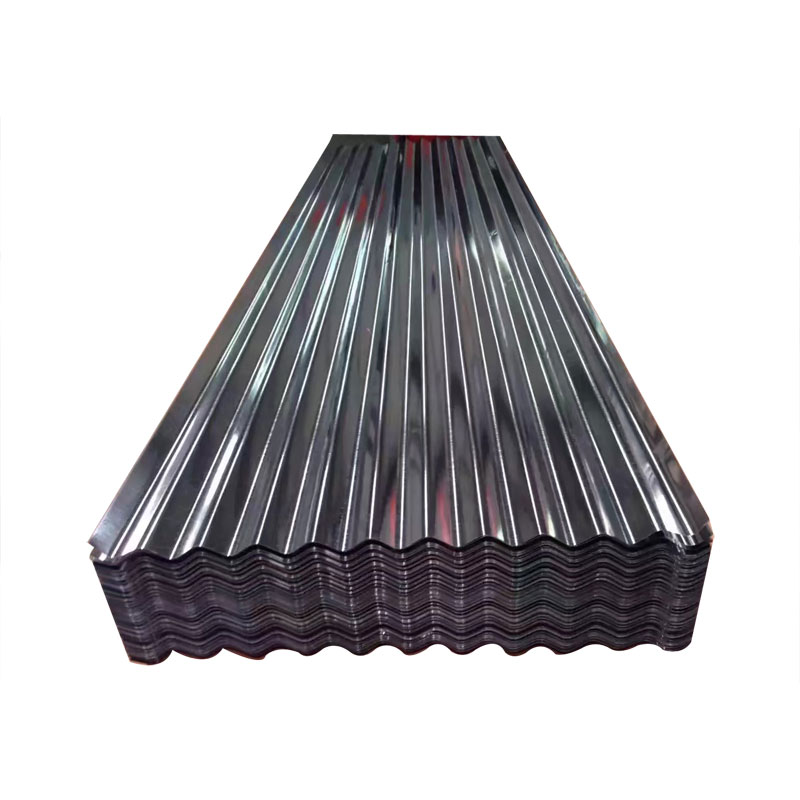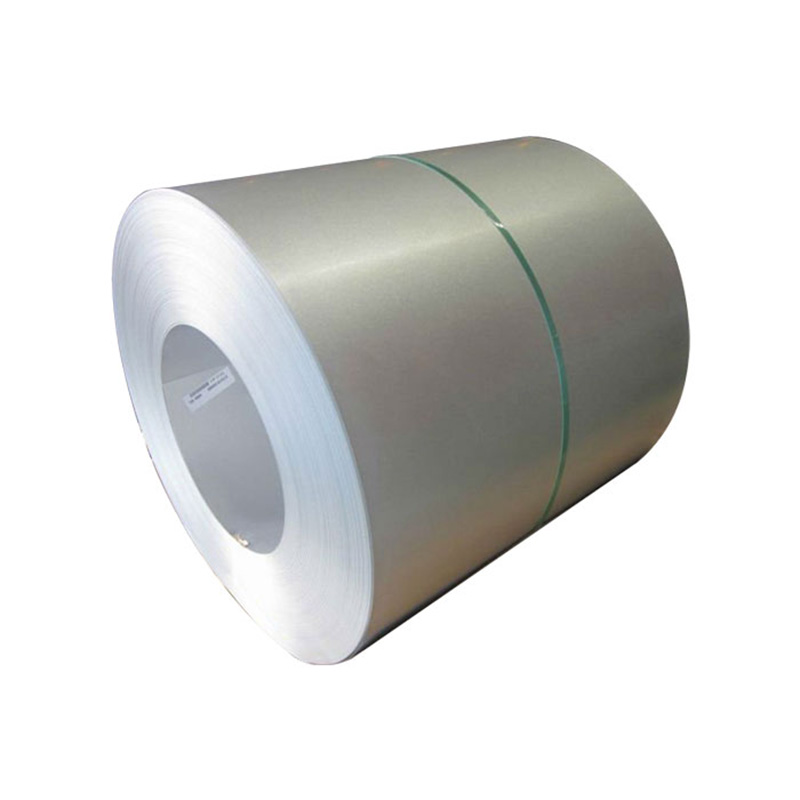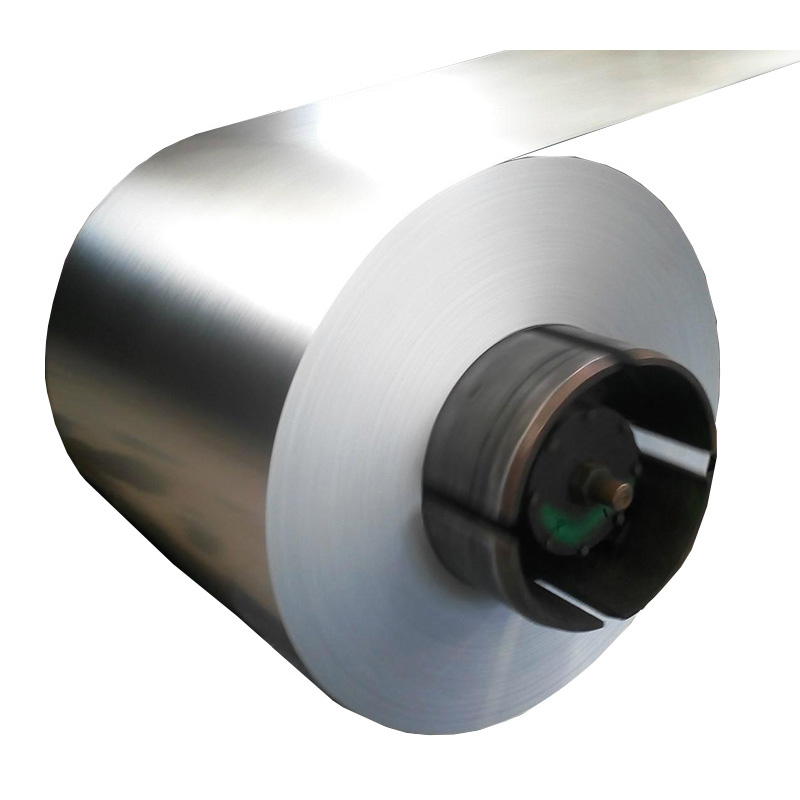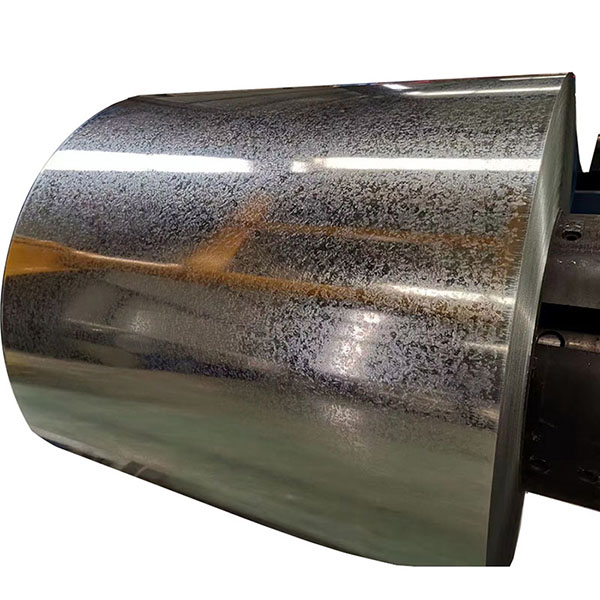
A steel coil inspection checklist before production verifies surface defects, edge and diameter condition, dimensional accuracy, material specifications, and safety documentation. Uncaught coil issues cause line stoppages, scrap, rework, and defective end products, so you should run this check before the line starts. Catching a bad coil early prevents downtime and wasted material.
The review covers far more than a quick visual look. It checks documents, labels, dimensions, finish condition, and storage state. This post presents a step-by-step, printable checklist inspectors can use at the receiving bay or before uncoiling. You’ll protect your quality, keep your schedule on track, and avoid costly surprises on the shop floor.
Key Takeaways
- Inspect every steel coil before production. This step stops downtime, scrap, rework, and defective end products.
- Gather order specs, standards, material certificates, calibrated tools, safe lifting equipment, and safety gear before you start.
- Check the whole coil for wrap damage, edge cracks, deep rust pits, dents, oil, and coating flaws.
- Measure thickness, width, diameter, and weight. Compare each reading to allowed tolerances.
- Match mill certificate, labels, heat number, coil number, grade, chemistry, and coating data to the order. Bind every result to the coil.
- Hold coils with edge cracks, deep rust pits, coating blisters, or document mismatches. Never relabel material or mix different heats.
- Sample and test coils when customer rules or high-risk uses demand strength, bend, or hardness checks.
- Sort each finding as acceptable, repairable, or rejected. Release only good coils that meet every rule and pass a small process test.
Preparation for the Steel Coil Inspection Checklist Before Production
Good preparation sets the foundation for a smooth steel coil inspection checklist before production. You start by receiving the drawings and reviewing the inspection plan. Confirm the purchase order, customer specification, and applicable product standard before production begins. This step ensures everyone knows what to check and why.
Gather Specifications and Standards
Purchase Order and Customer Spec
Pull the purchase order and customer specification first. These documents define the required grade and thickness, along with any special handling needs. Check the applicable product standard for your steel type. A galvanized steel order may call for specific coating weights and surface requirements. Write down every acceptance criterion so you can compare results later.
Coil, Heat, and Grade Data
Retrieve the Certificate of Analysis (CoA) at this stage. The CoA verifies material properties and helps you flag lot-to-lot variation. Match the heat number, coil number, and grade against your order. Note any chemistry or mechanical property limits that affect downstream processing. This documentation step catches mismatches before the coil reaches the line.
Prepare Tools and Equipment
Tape Measure, Calipers, and Thickness Gauge
Gather your measuring tools before you approach the coil. You need a tape measure, calipers, thickness gauge, and micrometers. These tools let you verify dimensions against the tolerances in your technical specification. Check that each instrument is calibrated and in good working order. A faulty gauge gives false readings and undermines your entire inspection.
Lighting, Camera, and Inspection Forms
Set up adequate lighting at the inspection station. Good light reveals surface defects that shadows can hide. Keep a camera or phone ready to document findings. Print inspection forms or prepare a digital version for recording results. Your forms should include fields for coil number, inspection time, inspector name, and inspection environment.
Confirm Safety Conditions
Stable Coil Placement and Lifting Gear
Verify the coil sits stable on the floor or rack before you begin. A shifted or unstable coil poses a serious hazard. Inspect lifting gear such as hooks, slings, and spreader bars for wear or damage. Use only approved equipment rated for the coil weight. Never stand in the path of a suspended load.
Required PPE for Inspectors
Wear the right personal protective equipment for every inspection. Gloves protect your hands from sharp edges and oil residue. Safety shoes guard against dropped tools or coil movement. Add eye protection and a hard hat when overhead hazards exist. Your company may require additional gear based on site conditions.
Visual Inspection of the Steel Coil
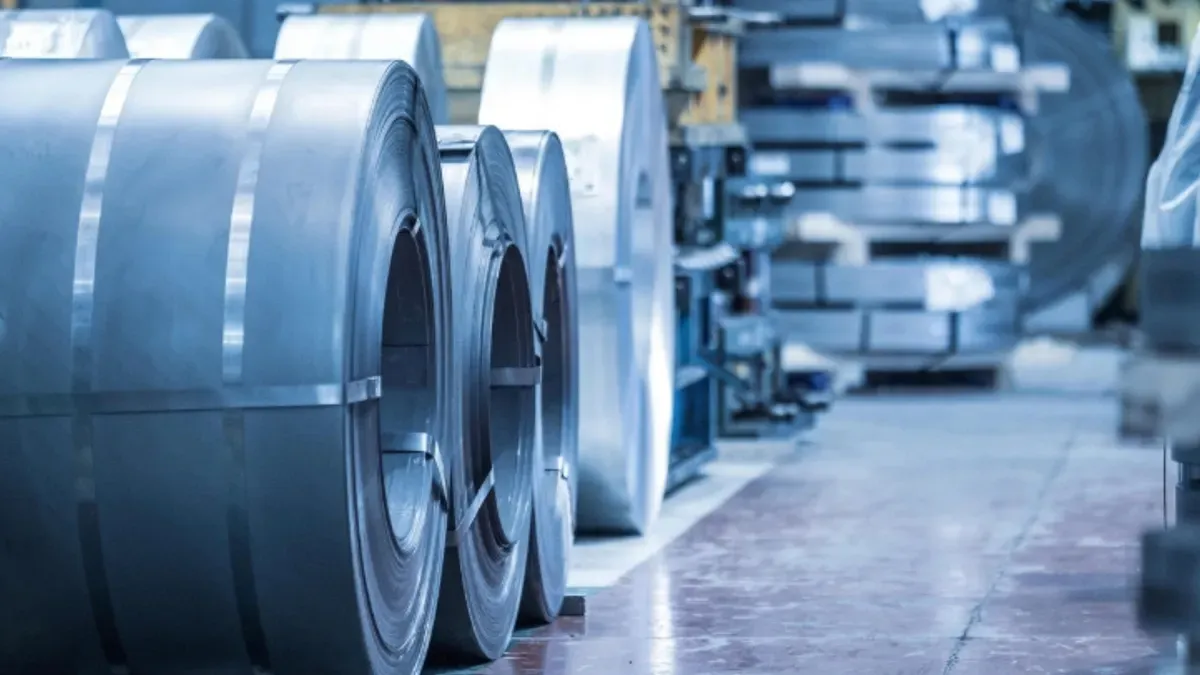
You conduct a 360° inspection using a standardized checklist before uncoiling. Walk around the entire coil and examine every accessible angle. This step catches problems that a single-side glance would miss.
Check Wrapping and Packaging
Outer and Inner Wrap Integrity
Examine the outer wrap for tears, punctures, or water damage. Moisture trapped under the wrap accelerates rust formation during storage. Check the inner wrap near the eye of the coil for similar issues. A compromised wrap means the steel coil sat exposed to humidity or contaminants.
Edge Protectors and Strapping
Verify that edge protectors sit firmly in place. These guards prevent mechanical damage during transit and handling. Inspect the strapping for cuts, looseness, or corrosion. Loose bands allow the wrap to shift and expose the coil steel underneath. Tight, intact strapping keeps the package secure until you cut it at the line.
Inspect Edges and Coil Shape
Edge Dents, Burrs, and Cracks
Run your eyes along both edges of the strip. Look for dents, burrs, and cracks. Edge cracks are a common hold trigger because they propagate during uncoiling and cause strip breaks. Any crack warrants immediate evaluation before you release the coil. Dents and burrs may indicate handling damage that affects downstream forming.
Telescoping, Loose Winding, and Collapse
Check for telescoping, where inner wraps slide outward past the outer layers. Look for loose winding and collapse as well. These conditions cause feeding problems and tension loss at the uncoiler. A collapsed coil may not mount safely on the mandrel. Flag any shape anomaly for engineering review.
Coating and Surface Defects
Rust, Scratches, Dents, and Oil Residue
For galvanized steel, verify that panels are flat and free of scratches. Check for proper zinc coating adhesion across the surface. Rust pitting deeper than 1 mm is a common hold trigger. Examine the surface for scratches, dents, and oil residue. Oil residue may hide defects or interfere with downstream surface preparation. Record the defect location, extent, and severity. Take photos for the inspection record. Distinguish acceptable appearance variation from anomalies that require evaluation.
Coating Adhesion, Blistering, and Color Uniformity
Coating performance determines final product quality. Blistering signals poor adhesion or trapped moisture. Color uniformity matters for exposed applications. The table below lists recognized test methods for coated coil steel.
| Test | Material | Standard |
|---|---|---|
| Adhesion | Coated metals in coil | ГОСТ 9.407-2015 |
| Colour difference | Metal-coated steel | ГОСТ 17261-2008 |
| Colour difference — visual comparison | Polymer-coated steel | ГОСТ 9.401-2018 |
Understanding how the coating forms helps you judge defects. The continuous hot-dip galvanizing line performs heat treatment of work-hardened metal and applies a zinc coating. The strip undergoes alkaline washing, passes through a thermochemical furnace, is immersed in a zinc bath, cooled, and skin-passed. An anti-corrosion solution and preservation oil are then applied before the finished coil is shipped. This sequence means galvanized metal carries a coating bonded through metallurgical reaction, not simple adhesion. Blisters or flaking point to a process deviation at the mill.
Automated AI vision systems can inspect surfaces for scratches, rust, dents, and gauge deviations at high speeds and auto-grade coils. Manual checks remain the baseline for incoming inspection of metal. Your eyes and hands still catch context that cameras miss.
This visual stage of the steel coil inspection checklist before production feeds directly into dimensional checks. Every observation you record here supports the final release decision.
Dimensional Inspection of the Steel Coil
After your visual review, move to dimensional checks. These measurements confirm the coil matches your order and will run properly on your line. You need accurate tools and a consistent method for every reading.
Measure Thickness and Width
Measurement Points and Frequency
Take thickness readings at multiple points across the strip width. Measure near both edges and at the center. This pattern reveals crown or wedge conditions that affect forming. For width, measure at several locations along the coil length. Your sampling frequency should follow the inspection plan or customer specification. Record every reading on your steel coil inspection checklist before production form.
Compare to Allowed Tolerances
Compare each measurement against the tolerances in your purchase order or applicable standard. Thickness variation outside the allowed range causes problems in stamping, roll forming, and welding. Width deviations may prevent proper feeding or cause edge misalignment. Document any reading that falls outside the specified limits. The tolerances for metal thickness and profile type depend on the product standard and customer requirements.
Verify Coil Diameter and Weight
Inner Diameter, Outer Diameter, and Weight
Measure the inner diameter to confirm it fits your uncoiler mandrel. Check the outer diameter for clearance at your payoff reel or coil car. Weigh the coil or verify the weight stated on the tag. These dimensions affect handling equipment selection and line setup. A coil that exceeds your equipment capacity creates safety risks and production delays.
Match to Order and Shipping Documents
Cross-check your measurements against the packing list and shipping documents. The coil weight and dimensions should match what the supplier declared. Any discrepancy signals a possible mix-up or documentation error. Flag mismatches before you mount the coil. This step protects your production schedule and prevents processing the wrong material.
Check Coil Tightness and Winding
Edge Alignment and Interlayer Slippage
Examine the coil face for edge alignment. Well-wound coils show straight, even edges. Misaligned edges indicate poor tension during winding. Look for interlayer slippage where wraps shift against each other. This condition causes feeding problems and tension loss during uncoiling. Note the severity and location of any slippage on your inspection record.
Loose or Collapsed Wraps
Check for loose outer wraps that may unravel during handling. A collapsed coil shows deformation in the wrap structure. These defects often result from improper stacking or impact damage. Loose or collapsed wraps can jam your uncoiler and damage downstream equipment. Hold any coil with severe winding defects for engineering review before release.
Material and Documentation Verification
Two coils can look identical yet carry different chemistry and heat histories. Appearance alone cannot prove identity. Documentation and labels provide the only reliable proof.
Match the Mill Certificate to the Coil
Grade, Heat Number, and Coil Number
Start with the mill certificate. The grade on that certificate must match your purchase order. Cross-check the heat number against the coil label. That heat number identifies the exact melt. The coil number ties that melt to the physical coil. A mismatch anywhere means the material is unverified. Set the coil aside until you resolve the discrepancy.
Full documentation includes manufacturing and operating records, manufacturing and inspection records, strength calculations, and as-built drawings. Without these records, you cannot confirm the material meets the order requirements.
Chemistry, Mechanical Properties, and Coating Data
Check the chemistry table next. Carbon, manganese, and alloying elements influence weldability and forming. Confirm those values fall within your specification limits. Inspect yield strength and elongation as well. These properties determine coil behavior during stamping, roll forming, or shearing.
For coated steel, verify the coating weight, coating type, and coating adhesion. Confirm that the coating finish matches the order. Small coating errors often cause major surface defects. If any coating property is missing, request the original record. Independent inspectors can verify that steel products such as hot rolled coil meet mill certificates and international standards through chemical and mechanical testing in accredited laboratories.
Verify Labels and Traceability
Label Legibility and Attachment
Walk around the coil and examine every label. Labels should be clear, legible, and firmly attached. Look for missing, duplicate, or blurred labels. A smeared coil number creates doubt about material identity. A loose label should trigger the same suspicion as a damaged certificate.
Cross-Check Against Certificate and Order
Compare each label entry against the mill certificate. Match the coil number, heat number, listed specification, thickness, and width. Then repeat the match against your purchase order. The label alone is not proof. It supports the certificate, never replaces it. When they disagree, the certificate takes precedence.
Handle Mismatches Correctly
Hold the Coil and Notify Quality
When you find any mismatch, stop the process. Do not move the coil to the line. Tag it as on hold and record the exact discrepancy. Notify the quality department and the supplier. Include the coil number, heat number, and a clear photo of the label. A quick report speeds up decisions.
Do Not Relabel or Mix Material
Never relabel a coil to make it match a certificate. Never mix materials from different heats to fill a shortage. Unverified material entering production creates hidden risk. It can fail during forming, welding, or final testing. It also destroys traceability. The final technical dossier compiled for customer acceptance must show a clean chain from mill certificate to finished part. Releasing a mismatched coil breaks that chain permanently.
Sampling and Testing When Required
Some coils need more than visual review. Your quality plan defines when sampling is mandatory.
When to Sample or Test
Customer Requirements and New Suppliers
Customer specifications often require test reports before shipment. Safety-critical components make these tests non-negotiable. Check your order for a testing clause.
New suppliers carry unknown variation. Independent tests confirm mill certificates. Sample every coil until you trust their process. This habit protects your production.
High-Risk Grades and Critical End Uses
High-strength material varies more than mild grades. Chassis parts and load-bearing frames add risk. Deep drawing pushes material near limits.
A coil that passes basic thickness checks can fail during complex forming. Order tensile and bend testing for such cases.
Common Checks
Cross-Section and Hardness Testing
Cross-section inspection examines the metal thickness and profile type across the strip. You cut and polish a sample. This check confirms coating bonding to the base steel.
Hardness testing verifies substrate strength. Polymer-coated material receives pencil hardness tests to confirm coating cure. The table below lists standard methods from supplier reports.
| Test category | Test method | Test object | Standard |
|---|---|---|---|
| Tensile test | Yield strength, ultimate tensile strength, elongation, and reduction of area after fracture | Metal materials, steel | DIN EN 13523-22:2014 |
| Tensile test | Yield strength, ultimate tensile strength, elongation, and reduction of area after fracture | Metal materials, steel | ГОСТ 29319-92 |
| Tensile test | Yield strength, ultimate tensile strength, elongation, and reduction of area after fracture | Metal materials, steel | DIN EN 13523-15:2014 |
| Bend test | Bend test for coating adhesion to the steel base | Metal materials, steel | O’zDSt ISO 2815:2017 |
| Bend test | Polymer coating strength under T-bend | Polymer-coated steel | ГОСТ 13813-68 |
| Bend test | Polymer coating strength under T-bend | Metal-coated steel | ГОСТ 18895-97 |
| Bend test | Coating adhesion under T-bend | Metal-coated steel | DIN EN 13523-25:2014 |
| Hardness test | Polymer coating hardness (pencil) | Polymer-coated steel | ГОСТ 2789-73 |
| Hardness test | Polymer coating hardness (pencil) | Metal-coated steel | ГОСТ 5639-82 |
| Hardness test | Buchholz hardness | Metal-coated steel | DIN EN 13523-26:2014 |
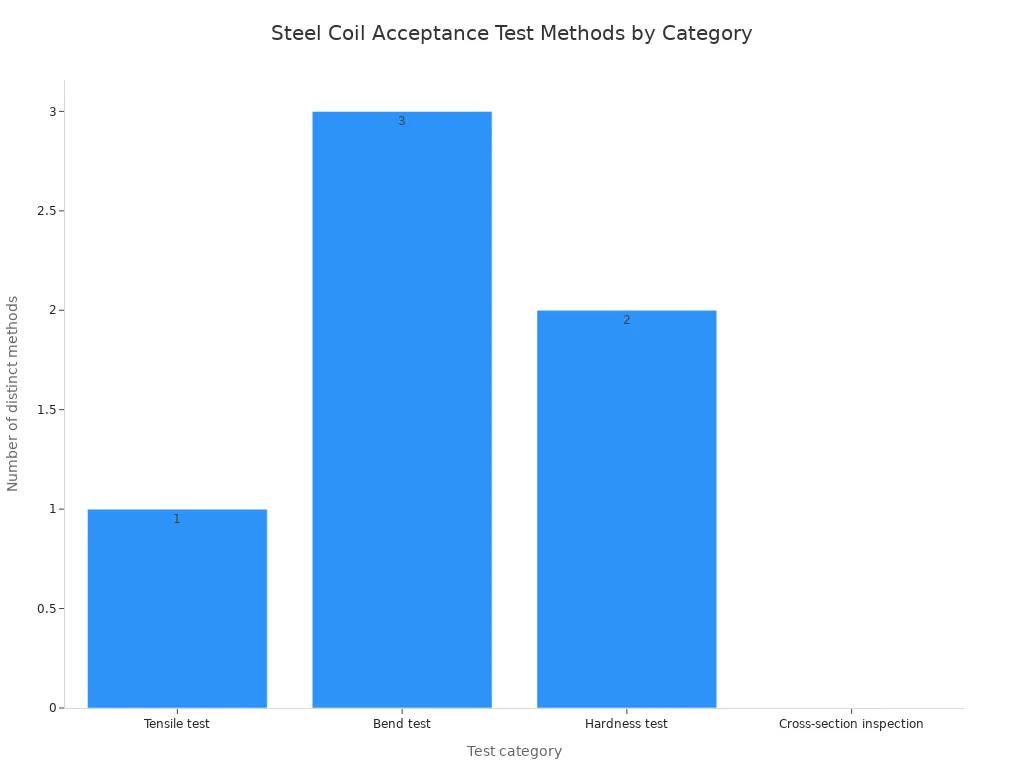
| Cross-section inspection | No explicit cross-section inspection method was found; the closest extracted item is the tensile-test parameter ‘reduction of area after fracture’, but it is not labelled as a cross-section inspection method. | Metal materials, steel | DIN EN 13523-22:2014 / ГОСТ 29319-92 / DIN EN 13523-15:2014 |
The chart below counts test methods per category. Cross-section inspection has no standard method. Ask your lab for a procedure using the tensile parameter reduction of area after fracture.
Tensile and Bend Tests
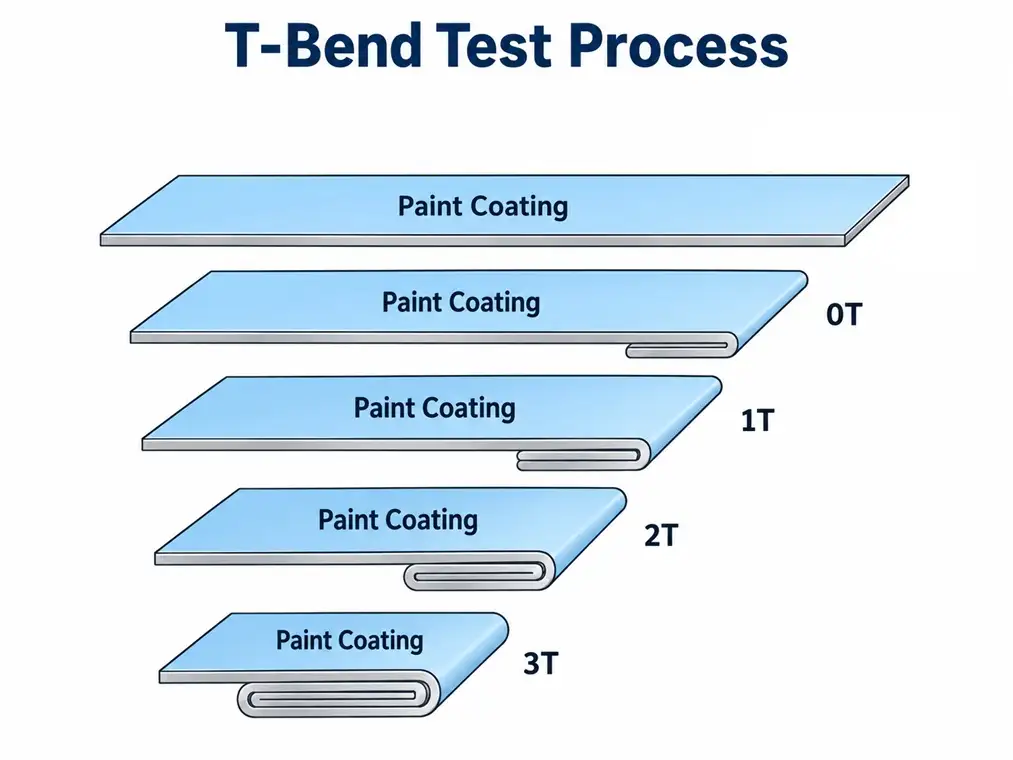
Tensile testing measures yield strength and elongation. Bend testing checks coating adhesion. A T-bend test wraps the strip around a mandrel and looks for cracking in the coating.
Take samples from both coil ends. Ship them to an accredited lab if your shop lacks equipment.
Document Test Results
Link Results to Coil and Heat Number
Test results protect production only when traceable. Write the coil number and heat number on every test request. Without this link, a valid report applies to nothing.
This link proves which material entered which batch.
Attach Reports to the Inspection Record
Attach all test reports to the inspection record. Include the certificate of analysis and laboratory reports.
Store the file with the coil identity. Good documentation becomes part of the final technical dossier.
Release for Production or Hold
With all checks complete, you face the final decision. The steel coil inspection checklist before production ends with release or hold. Keep the decision objective, documented, and grounded in the order and standard.
Classify the Findings
Acceptable, Repairable, or Rejectable
Sort every finding into one of three categories. Acceptable means the coil meets the purchase order and the product standard on every checked point. Repairable means the coil has a fixable flaw, such as a damaged edge that can be trimmed or a defective outer wrap that can be removed. Rejectable means the coil fails requirements and no economical repair exists. Deep rust pitting, broken edges, or mismatched documents belong here. Record each classification and be ready to justify it.
Your first reaction might be to release a good-looking coil. Do not skip the classification step. Record each item, from gauge data to coating adhesion. Discipline here protects you later.
Compare Against Order and Standard
The purchase order is your starting point, not your final rule. Compare the material against the product standard and the customer specification as well. These documents set the allowed tolerances, sampling ratios, and defect thresholds. A coil can pass the order but fail the standard, or the reverse. Release only material that satisfies all three sources.
Pay special attention to dimensions. Measure the thickness at the recorded points and compare it to the allowed limits. Confirm coating weight and surface finish match the order. A value at the limit is suspicious; request a second reading or a small test. Pausing now costs less than scrapping a marginal coil.
Follow the Release or Hold Process
Complete Records and Release Approved Coils
Classify the coil as acceptable, then finish the paperwork. Complete the inspection form, add photos, attach the certificate of analysis, and bind every result to the coil number and heat number. This traceable record proves compliant entry to the line. Then mark the coil released and stage it.
Notify the line supervisor with the coil details and handling notes. A floor that knows what to expect sets up faster. Hand over the released coil with clear instructions.
Isolate and Tag Held or Rejected Coils
A held coil stays in quarantine until someone resolves the issue. Attach a readable hold tag with the reason, then move the coil away from released material. Update the inventory system so no one picks it by mistake. Include the coil number, date, inspector name, and issue description.
A rejectable coil follows the same rule. Tag it, move it to the reject area, notify the quality department, and follow your procedure for return or concession. Never let it drift toward the line. Catching it now costs far less than a defective batch.
Confirm Process Suitability
Fit for Stamping, Shearing, Forming, or Welding
Acceptance for storage does not guarantee acceptance for your process. A coil can pass every incoming check and still fail on a stamping press or welding line. For stamping, check hardness and ductility. For welding, verify chemistry and surface cleanliness. For shearing, confirm edge condition. For roll forming, check profile consistency and coating uniformity.
Slit steel coils need extra attention. Run a test strip before the full coil reaches the line. Confirm the correct lubricant type is applied to prevent friction and wear defects. A lubricant that worked for the previous grade may not suit this coil. Use the supplier’s recommendation or ask the processing engineer. A short test reveals feed problems, edge cracking, or coating flakes before you commit the coil.
Special Customer Requirements and Test Runs
Customer-specific requirements often change the release decision. The coil may meet the base standard but fail on protective film, surface finish, surface treatment, or material direction. Check these items before release. A requirement missing from the label calls for engineering verification. Do not assume a standard coil satisfies an unusual order.
In doubt, run a trial processing step on a small sample from the coil end. Let the line operator and engineering observe. Document the outcome, bind it to the coil number, and share findings with the scheduler. This practice avoids long runs of reject parts and wasted material.
Acceptance limits, sampling ratios, and defect thresholds always come from the purchase order, customer specification, applicable standard, and company procedure. This section explains the decision framework only. They govern every final release call. With conflicting documents, the strictest requirement wins. Apply these rules to every coil.
A complete pre-production check covers documents, labels, surface, edges, dimensions, storage condition, and process suitability. You verify each item before the coil reaches your line. This preparation protects your schedule and your quality.
Consistent inspection prevents downtime, waste, and end-product defects. Tie every result to the coil number. That link gives you traceability when questions arise later. Your steel documentation stays clean and complete.
Turn this checklist into a printable form. Adapt it to your company and customer requirements. Add fields for your specific tolerances and hold triggers. A tailored checklist works better than a generic one. Start using it today.
FAQ
Does every steel coil need inspection before production?
Yes. Every coil carries its own heat history, handling record, and storage exposure. Skipping inspection on any coil risks releasing unverified material to your line. Even coils from trusted suppliers can shift between lots. Run the full checklist every time.
Which surface defects should trigger a hold?
Hold any coil with edge cracks, deep rust pitting, or coating blisters. The article flags rust pitting deeper than 1 mm as a common hold trigger. Edge cracks propagate during uncoiling and cause strip breaks. Document each defect with photos and notify quality before release.
What should you do when the label disagrees with the mill certificate?
Stop the process and tag the coil as on hold. Record the exact discrepancy and photograph the label. Notify your quality department and the supplier. Never relabel the coil or release it based on appearance. The certificate takes precedence over the label.
How many thickness and width readings should you take?
Your inspection plan or customer specification sets the sampling frequency. As a baseline, measure thickness near both edges and at the center of the strip. Take width readings at several points along the coil length. Record every value against the allowed tolerances.
Can you use a coil with light surface rust?
It depends on severity and end use. Light surface rust may clean up during processing. Deep pitting that exceeds your acceptance criteria affects coating adhesion and final product quality. Evaluate the coil against your order and standard. When in doubt, hold it for engineering review.
Which checks follow customer specifications instead of your default procedure?
Tolerances, sampling ratios, and defect thresholds always come from the purchase order, customer specification, applicable standard, and company quality procedure. Special requirements such as protective film, surface treatment, and material direction also follow the customer’s documents. When documents conflict, the strictest requirement wins.
Do you need a test run before processing a slit coil?
Yes. Run a test strip before the full coil reaches the line. Confirm the correct lubricant type to prevent friction and wear defects. A short trial reveals feed problems, edge cracking, or coating flakes. Document the outcome and bind it to the coil number.
How long should you keep inspection records?
Bind every result to the coil number and heat number for traceability. Store inspection forms, photos, certificates, and test reports together. Your company quality procedure and customer requirements define the retention period. Clean records support customer acceptance and future claims.