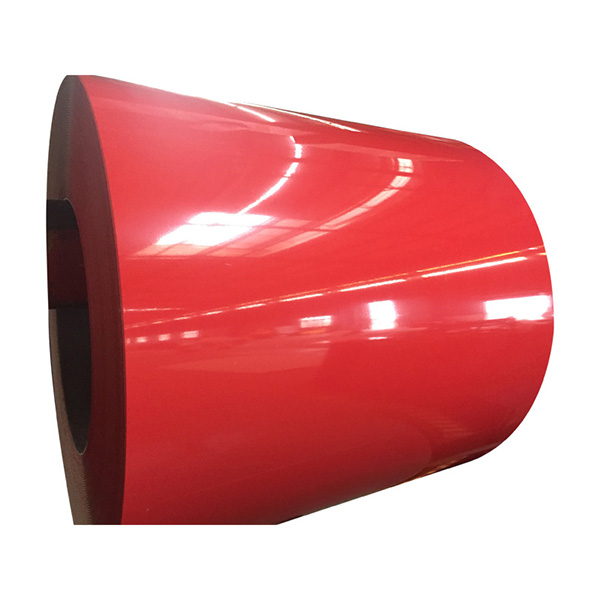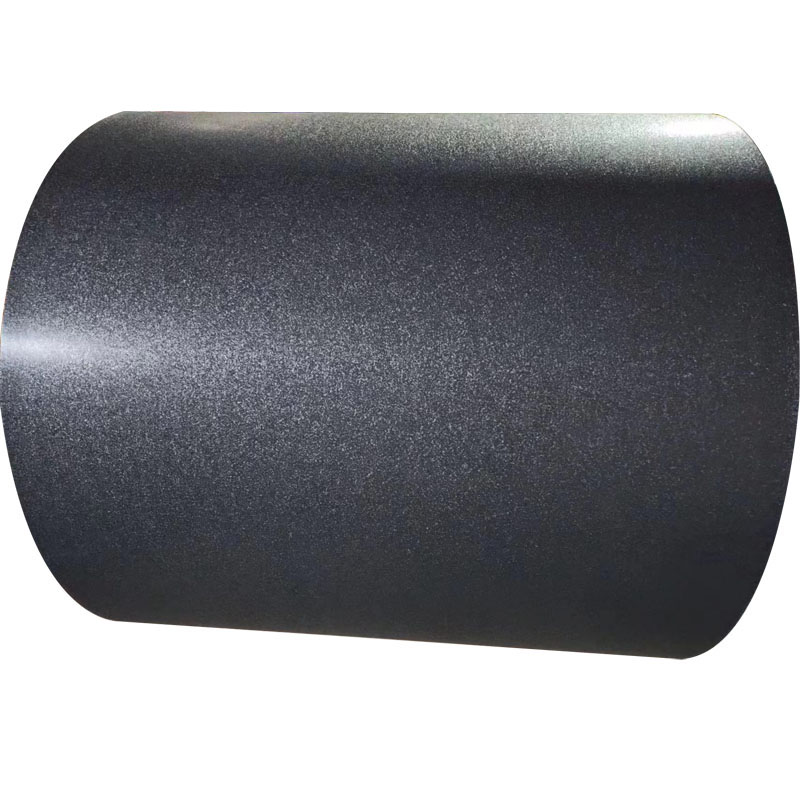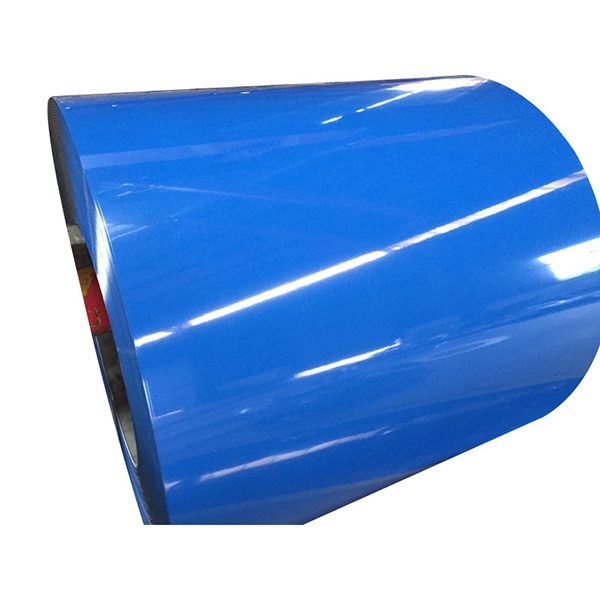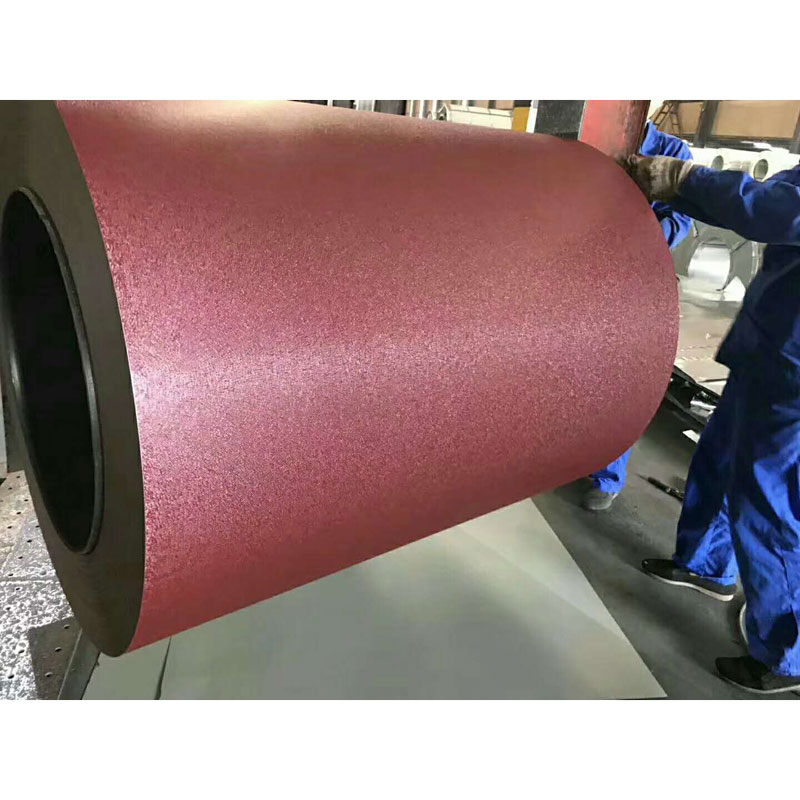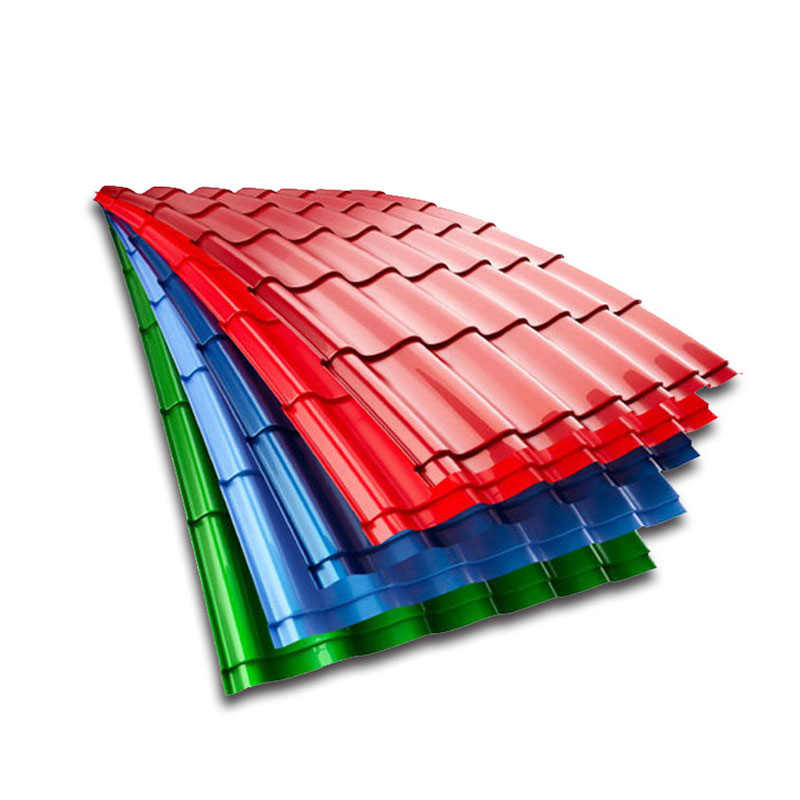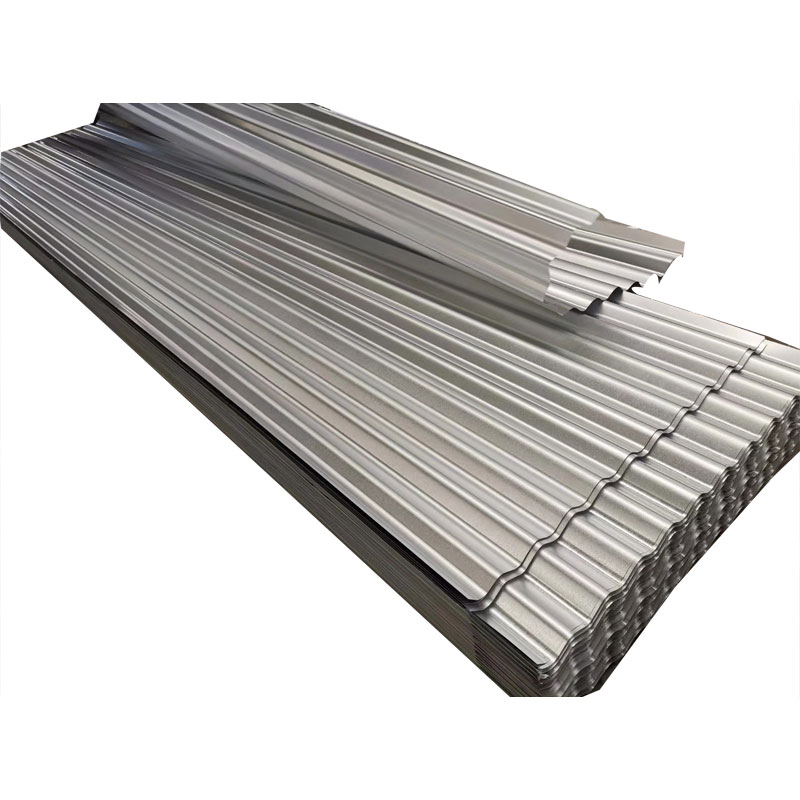
A coil that passed the mill report can still fail on the line, and the reason is usually that three different properties got treated as one. PPGI paint adhesion inspection works only when you separate them: adhesion, cohesion and hardness are three different properties, and each has its own failure mode. Adhesion is the bond to the steel, and it fails as peeling or delamination at the interface. Cohesion is the film’s internal strength, and it fails as cracking inside the coating.
Hardness is resistance to indentation and scratching, and it fails as marring or abrasion. Hardness does not predict peel, which is why a coil can score well on a scratch test and still delaminate after forming. The distinction answers three questions that separate the properties: will the coating stay attached, will the film hold together, and will the surface resist local damage. This guide gives you an inspection sequence you can sign off on, plus purchase-order language that holds up when a coil fails. Every number that follows comes from a named standard, including the ASTM D3359 Method B classification and ISO 2409’s Gt0-to-Gt5 scale.
Why PPGI paint adhesion inspection is three different tests, not one
The distinction that governs every test in this guide is paint adhesion vs cohesion. Adhesion is the bond between coating and steel, and its failure mode is peeling or delamination at the interface. Cohesion is the internal strength of the film, and its failure mode is cracking within the film. Hardness is a third property: resistance to indentation or scratching, failing as marring or abrasion. Mill Steel’s coil-coating failure analysis puts the same split in three questions: will the coating stay attached to the steel, will the film hold together, will the surface resist local mechanical damage.
The practical consequence is that hardness does not predict peel or interfacial delamination. A pencil-hardness pass tells you nothing about whether a T-bend, an Erichsen cup or a cross-hatch tape pull will hold. That is why PPGI paint adhesion inspection runs three families of test, not one.
Prerequisites: what you need before you cut a coupon
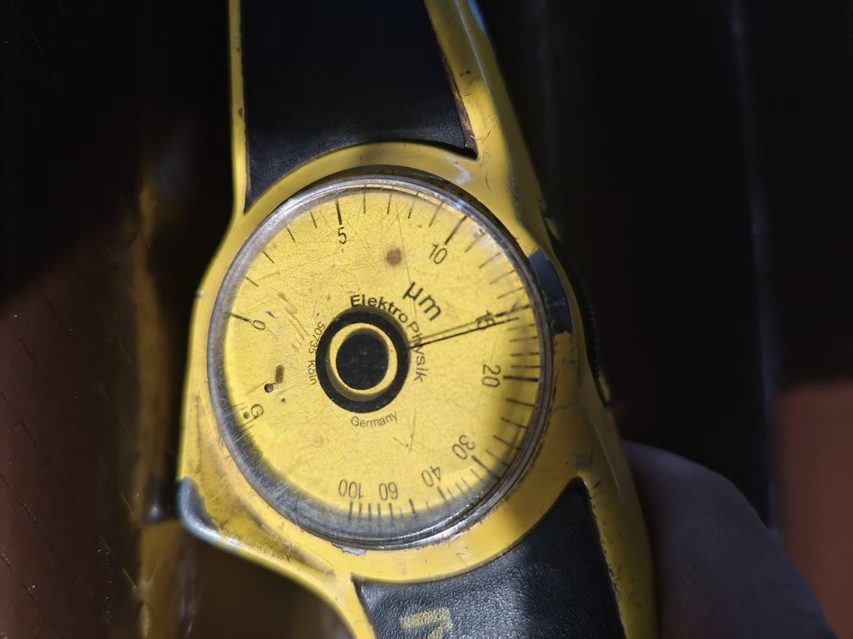
Before any test runs, assemble the bench: a sample coupon taken clear of coil ends and existing bends, certified tape inside its shelf life, a cross-hatch blade matched to film thickness, a mandrel set, an impact tester, and a coating thickness gauge. Budget about 20 minutes to gather and label everything, and treat this as intermediate work. The blade choice is not interchangeable. Under the cut-spacing rule that trips most repeat tests, ASTM D3359 Method B calls for a 1 mm, 11-tooth blade on 0 to 50 µm films and a 2 mm, 6-tooth blade on 50 to 125 µm films, so the cross-hatch tape test ASTM D3359 result depends on matching the tool to the measured thickness. ISO 2409 works the same way, and ISO 2409’s spacing table by thickness band sets 1 mm for 0 to 60 µm on hard substrates, 2 mm from 61 to 120 µm, 3 mm from 121 to 250 µm, and rules the method out above 250 µm.
Two more items belong on the list before you cut anything: the standard you and the supplier agreed to inspect against, and the forming severity of the actual part, for example a 0.5 mm coil roll-formed at a 2 mm inner radius. Without the second, you cannot tell whether a passing flat-panel result says anything about the part you are buying. Tape is the quiet variable here, because tape type, lot and age all change the result.
⚠️ Warning: The most common prerequisite failure is testing on a coupon that has already been bent. Once the film is strained, every later reading describes the strained film, not the coil.
Step 1: Record the visual and non-destructive baseline
By the end of this step you have a dated record of coating thickness, gloss, colour and surface condition taken before anything touches the coupon. This baseline is what makes a PPGI paint adhesion inspection comparable across coils later.
-
Measure dry film thickness at five marked points across the panel using a magnetic or eddy-current gauge. One mill’s published inspection sequence works to a total primer plus topcoat of at least 20 µm, with a coil thickness tolerance of ±0.02 mm (Wanzhi Group, 2025-03-13). Treat that as a mill datapoint, not a universal rule: your own specification governs.
-
Record the substrate designation. The Z number is a coating mass, not a thickness, and it counts both sides together. Z100 means 100 g/m² total, Z275 means 275 g/m², and AZ150 means 150 g/m² of aluminium-zinc (CSSBI Fact Sheet 6, undated). Two coils with the same paint weight but different Z designations will not behave alike.
-
Measure gloss and colour with a glossmeter and spectrophotometer, and log ΔE against the agreed RAL or Pantone target.
-
Photograph the panel under consistent lighting and note any edge damage, handling marks, scratches or visible coating defects.
Verify your result: the thickness points you record now must be the same points you re-check after forming, so mark them physically on the coupon.
Step 2: Run the low-damage rub checks
By the end of this step, you will have a recorded solvent-rub count and a pencil grade, with the coupon still intact for the forming tests.
Rub the panel with a MEK-soaked cloth using the MEK double rub that tells you about cure, not bonding: ASTM D5402 counts solvent resistance, so a low count points to under-cure or incomplete crosslinking rather than weak bonding. Count the double rubs and note the film condition at the endpoint.
Then grade scratch resistance with ASTM D3363 measures hardness, not adhesion, recording the hardest pencil that will not gouge the film. For reference, a published PPGI spec sheet comparing polyester and PVDF lists 100 MEK double rubs as a pass, with pencil hardness F minimum for polyester-melamine and B minimum for PVDF. Treat those as one vendor’s datapoint, not a universal threshold.
Verify your result: the rub count is written down as a number of double rubs plus the film condition at the endpoint, and the pencil grade is recorded against ASTM D3363. Neither number is an adhesion result.
Step 3: Run the forming tests before anything destructive
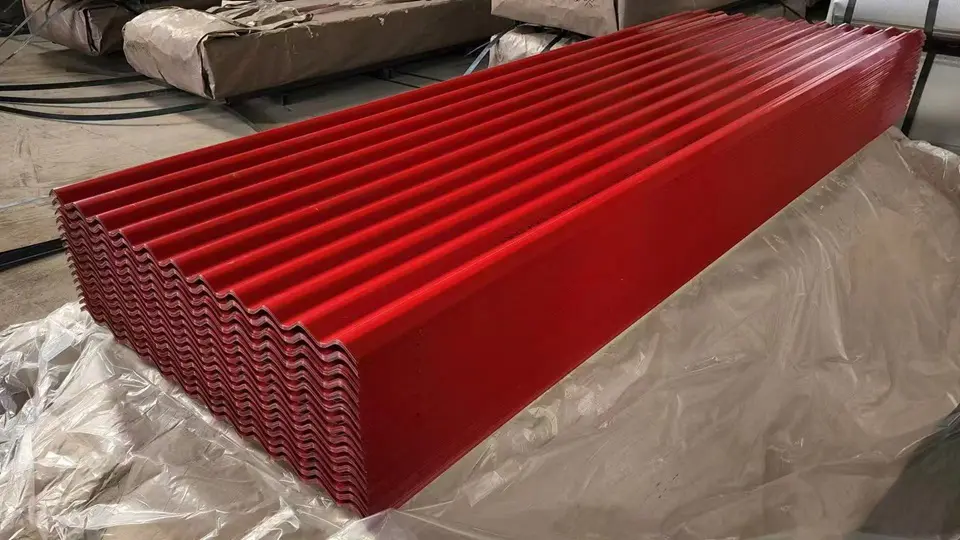
The sequencing rule that decides whether your results mean anything: run the forming tests while the film is still intact. A T-bend test on pre-painted steel is only valid on an untouched area, because cross-hatch and pull-off both damage the coating locally and will corrupt any forming result taken from the same coupon afterwards. Bend, drop and stretch the sample first; cut it last.
Bend it. ASTM D4145 defines the T-bend as the minimum number of sheet thicknesses over which the coating survives without fracture or removal, and EN 13523-7 sets the T-bend method for coil-coated metals using the same smallest-radius-without-cracking concept. Lower T means a more severe bend: 0T is the sheet folded back on itself, not “zero stress.” Record the T value at which cracking first appears, and note the magnification you used to see it.
Drop it. ASTM D2794 impact testing imposes rapid, localized deformation, and the number you report is the impact energy at which cracking appears, not a pass or fail stamp.
Stretch it. ASTM D522 bends the panel around a mandrel and reports the smallest mandrel diameter that survives. Erichsen cupping, by contrast, pushes a spherical punch into the sheet to create biaxial stretch, which is the closest analogue to deep drawing.
These three are not interchangeable. The forming tests measure different deformation modes: impact is fast and local, mandrel bending is slow and directional, cupping is multiaxial. A coating that survives a 2T bend can still craze under impact, so report each result against its own method.
This is also why a flat-panel pass is not a forming pass. A flat panel tests the bond at zero applied strain. A sharp bend imposes roughly 10 to 20 percent elongation at the outer radius, applied at a different rate. The two can legitimately disagree, and the forming result is the one that predicts what happens on your roll former.
Typical expectations by paint family, offered as trade practice rather than standard mandates: PE around 3T to 2T, SMP around 2T, HDP around 1T to 2T, PU around 1T to 2T, and PVDF around 0T to 1T, with 1T crack-free a common high-performance benchmark. Treat these as specification targets to negotiate, not as values the standards impose.
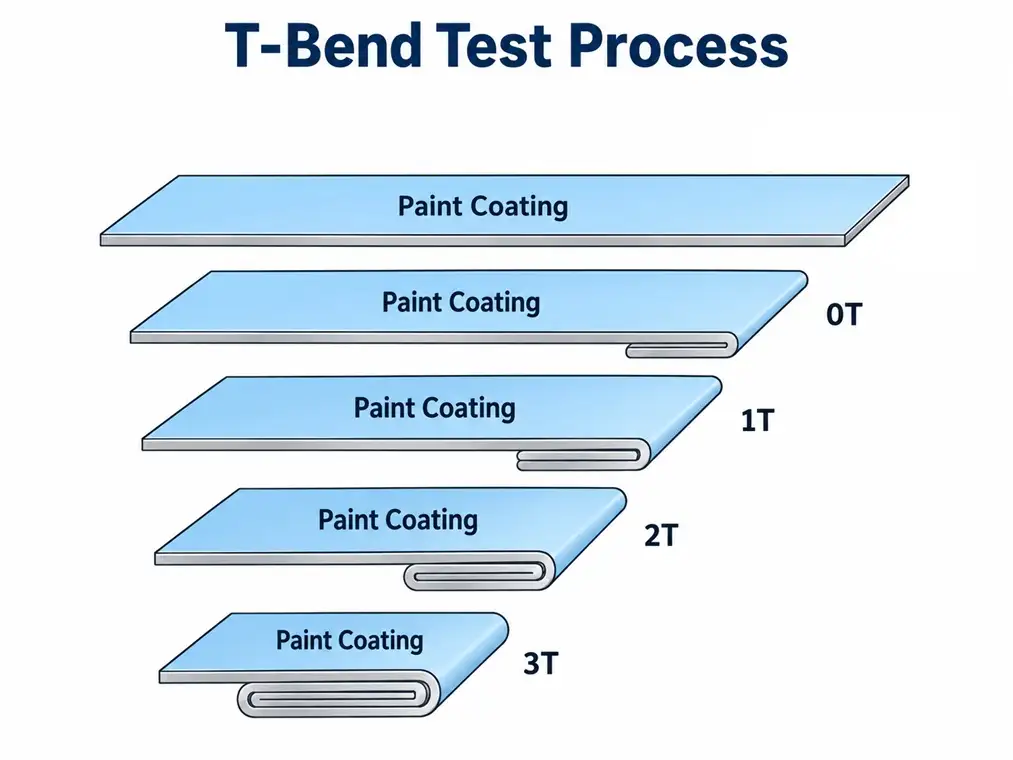
Verify before you judge. Confirm the bend actually reached the specified T, and confirm you measured the crack at the magnification your specification names. A bend judged by eye at arm’s length and a bend judged at 10x are two different tests.
Step 4: Run the destructive adhesion test last
By the end of this step, you’ll have a numeric rating from the cross-hatch tape test ASTM D3359 on a sacrificial area, with every forming result already recorded. Cut first, tape second, pull third, rate last: the sequence matters because the tape removes coating you cannot test again.
ASTM D3359’s two methods split on geometry. Method A is the X-cut, rated 0 to 5 with 5 best. Method B is the cross-hatch lattice, rated 0B to 5B with 5B best, and it is the one most PPGI specifications invoke.
Cut. Score the lattice through to the substrate. Spacing follows dry film thickness: a 1 mm, 11-tooth blade for 0 to 50 µm, a 2 mm, 6-tooth blade for 50 to 125 µm. This is the cut-spacing rule that trips most repeat tests, because a blade chosen for the wrong thickness changes the stress at every intersection.
Verify before you tape. Confirm the grid reaches the substrate. If the blade skated on the surface, stop and re-cut on a fresh area rather than taping a partial lattice.
Tape and pull. Press 25 mm tape over the grid, rub it down, then pull at as close to 0° as you can manage, folding the tape back over itself. Complete the pull within 1 to 2 minutes of cutting; a longer dwell lets the adhesive behave differently and makes your result hard to reproduce against the mill’s.
Rate. Compare the removed area against the ASTM D3359 Method B classification: 5B is 0% removed, 4B is under 5%, 3B is 5 to 15%, 2B is 15 to 35%, 1B is 35 to 65%, and 0B is above 65% (ANSI/SDI A250.10-2025, Table 2, 2025). Record the letter grade, not just the number.
⚠️ Warning: Watch the scale-direction trap. ASTM Method B runs 5B best to 0B worst, while ISO 2409 runs 0 best to 5 worst, so a “3” and a “3B” are not the same severity and cannot be compared without converting.
For a worked anchor, the ANSI/SDI A250.10 acceptance criterion of no less than 3B sets the floor at 5 to 15% film removal (ANSI/SDI A250.10-2025, §3.4 and §4.4, 2025). If your result and the mill’s disagree, the method and the cut spacing settle it before the material does: same method, same blade, same pull angle, same timing.
Step 5: Run the environmental checks and read them honestly
By the end of this step, you will have salt spray and humidity results recorded with their limits stated, not converted into a service-life forecast.
Expose prepared panels in the chamber, inspect at intervals, and record two numbers separately: hours to first blister and hours to red rust. ASTM B117 is a comparative test, not a service-life prediction: its stated intent is to compare specimens prepared the same way in the same chamber. The standard is blunt about extrapolation, noting that what ASTM B117 says about its own predictive limits is that standalone salt spray results have seldom correlated with natural-environment performance, and that correlation holds only where corroborating long-term atmospheric exposure data exists.
For reference, the salt-spray hours quoted in PPGI trade practice sit around 500 to 1,000 hours depending on paint system and end use. Treat that as trade practice, not a standard.
Humidity testing to ASTM D2247 is a separate check: blistering, adhesion loss and coating softening under constant condensation. It is not equivalent to a period of natural exposure either.
⚠️ Warning: a salt-spray hour count is not a service-life prediction. Record the hours to first blister and the hours to red rust separately, with the chamber and the specimen preparation noted, or the number means nothing.
Verify your result: the two hour counts are written down separately, the chamber is identified, and the specimen preparation matches the panels used in Steps 3 and 4. If any of the three is missing, the PPGI paint adhesion inspection record is incomplete and cannot be compared against a supplier’s report.
Step 6: Interpret the results and map defects to possible causes

By the end of this step you will have classified each failure by the property it indicates and separated possible material factors from buyer-side process factors, so a tooling problem does not get blamed on the coil.
The distinction that does most of the work here is paint adhesion vs cohesion. Peeling at the interface between coating and zinc points to adhesion. Cracking inside the film, with the coating still bonded to the substrate, points to cohesion. Marring points to hardness. Blistering points to water resistance. Each one sends you to a different conversation.
|
Observed defect |
Property it indicates |
Possible material causes |
Possible process causes |
|---|---|---|---|
|
Peeling at the coating/zinc interface |
Adhesion |
Incomplete or contaminated pretreatment, residual passivation, undercured primer, peak metal temperature outside the coating window |
Forming severity beyond the qualified T-bend, tight radius over a sharp feature, edge condition, handling damage |
|
Cracking within the film |
Cohesion |
Brittle or over-cured topcoat, coating system not flexible enough for the part, excessive dry film thickness |
Bend radius too small, cold forming, high forming strain |
|
Marring |
Hardness |
Soft or under-cured topcoat for the handling it receives |
Abrasive contact in the line, stacking and transit handling |
|
Blistering |
Water resistance |
Trapped moisture, under-cure, interfacial contamination or soluble salts |
Post-forming strain opening pathways, poor storage after forming |
Failure that only appears after forming is the case worth pausing on. It points first to surface chemistry rather than to the bend itself: incomplete or contaminated pretreatment from oil, dust, oxide or metal fines, zinc-surface condition, residual passivation, an undercured primer, or peak metal temperature outside the coating window (surface chemistry, not the bend, is usually the first suspect, retrieved 2026-09-02). Tooling radius, lubrication, edge condition and forming severity stay in the frame as process factors, but they are not the automatic answer.
A supplier report that passes while your first article fails is usually a test-method mismatch before it is a material contradiction. Differing tape, cut spacing, conditioning, bend radius or coupon geometry all produce different numbers on the same coil, and substrate lot-to-lot variation adds to that. This is why a flat-panel pass is not a forming pass, and the test that settles the disagreement is the one run on the same coupon preparation under the same standard, not the one run in the more favourable laboratory.
The standard’s own precision statement is the reason to settle it that way. ASTM D3359 reports a within-laboratory standard deviation of 0.33 to 0.37 rating units and a between-laboratory figure of 0.44 to 0.7, and it treats same-operator results as suspect if they differ by more than 1 rating unit and different laboratories as suspect beyond 2 (the standard’s own precision statement, retrieved 2026-09-02). A one-unit gap between your inspector and the mill’s is inside normal variation. A two-unit gap is a method difference, and it is worth resolving before anyone escalates it to a claim.
Escalate in this order: confirm the method matches, confirm the coupon preparation matches, then take the disagreement to the supplier as a joint review with both sets of coupons in the room. A defect-to-cause table only earns its keep if it stops the wrong escalation, and this one is built to do exactly that for the rest of your PPGI paint adhesion inspection.
Step 7: Write acceptance criteria into the PPGI purchase order
PPGI acceptance criteria purchase order language works only when each clause names a test method, a standard edition, a specimen location, a numeric value, a sampling plan and a retest rule. ASTM A1122/A1122M-22 shows the pattern: the standard puts sampling and specimen location in the material specification, not in the test method, so a PO that cites only a test name leaves the supplier free to choose the coupon.
Specify the method, not just the number. ASTM D3359 grades are method-dependent, and the standard’s own precision statement treats same-operator results as suspect when they differ by more than one rating unit and different-lab results by more than two. A clause reading “3B” without “Method B, 1 mm spacing” is therefore unenforceable in a dispute.
Name the standard edition and revision year beside every value, and attach the buyer’s own specification where it is stricter than the default. The ANSI/SDI A250.10 acceptance criterion of no less than 3B is a workable model for enforceable wording because it fixes both the method and the threshold.
|
Property |
Test method |
Governing standard |
Acceptance value |
Who verifies |
|---|---|---|---|---|
|
Coating adhesion, cross-hatch |
Cross-hatch tape test |
ASTM D3359 Method B, stated cut spacing |
Grade 3B minimum, no adhesion loss below 3B |
Buyer incoming QC on first article |
|
Coating adhesion, forming |
T-bend test |
ASTM D4145 |
T-bend value agreed per part severity |
Buyer, on formed coupon |
|
Impact resistance |
Falling-weight impact |
ASTM D2794 |
Impact energy in J, no cracking or pick-off |
Buyer, on formed coupon |
|
Film hardness |
Pencil hardness |
ASTM D3363 |
Pencil grade agreed with coating system |
Supplier, confirmed by buyer |
|
Solvent resistance |
Solvent rub |
ASTM D5402 |
Double-rub count, no coating breakthrough |
Supplier, confirmed by buyer |
|
Corrosion resistance |
Salt spray |
ASTM B117, chamber and preparation defined |
Hours to blistering agreed per coating system |
Supplier, with buyer witness option |
One vendor datapoint, not a rule: a published PPGI spec sheet comparing polyester and PVDF lists 100 MEK double rubs, 2–3T for polyester-melamine against 0–1T for PVDF, and 1000 h against 2000 h salt spray. Treat those as the supplier’s claim to be tested, never as your acceptance value.
Verify your result: every row in the table should name a standard edition and a verifier. If a row cannot, it is not yet a clause.
Step 8: Set up the trial and the first-article sign-off
By the end of this step, you have a trial order, a signed first-article report, and a clause set that both sides accept.
Send the supplier your current specification, the forming severity of the actual part, and the test sequence you intend to run. Ask for a parameter review before any coil is scheduled: which substrate, which coating system, which cure window, and which test method the mill will report against. This is where why a flat-panel pass is not a forming pass gets settled in advance rather than after a failed lot.
Run the trial as a joint evaluation, not a purchase. The supplier’s technical team can help you confirm that the standard puts sampling and specimen location in the material specification, so both labs cut coupons from comparable positions. Witop Steel, a coated-steel supplier with technical support, free samples and specification customization, can be used to review parameters and document the material condition supplied before a trial run.
Test the first article with your own sequence. Do not accept it on the supplier’s report alone. Where the two disagree by a single grade, check the standard’s own precision statement before treating the gap as a defect: repeatability limits mean one grade of difference between labs is not decisive.
Attach the PPGI acceptance criteria purchase order clause to the trial order, not to the full order. Six elements make it measurable, and the joint review confirms each one before the clause is signed.
Common mistakes to avoid
Most inspection sequences fail on ordering, not on technique. Running the cross-hatch before the forming tests destroys the coupon you still need, and one mill’s published inspection sequence puts the adhesion grid last for exactly that reason.
Comparing grades across standards. The scale-direction trap catches buyers who read an ISO 2409 grade against an ASTM D3359 Method B grade without converting: the two scales run in opposite directions.
Treating a T-bend number as a quality score. ASTM D4145 defines the T-bend as the minimum number of sheet thicknesses passed under one specific test, not a universal ranking.
Reading salt-spray hours as service life. ASTM B117 is a comparative test, not a service-life prediction, and the standard itself notes that what ASTM B117 says about its own predictive limits is that standalone salt spray has seldom correlated with natural-environment performance.
Naming a value without its standard. A PO clause that says “3T” or “4B” is unenforceable; the standard puts sampling and specimen location in the material specification, so the clause must cite it.
What success looks like
You have finished a PPGI paint adhesion inspection sequence when three things are true. Every acceptance value in the purchase order names the standard it comes from, and the clause carries the six elements that make it enforceable, including the sampling plan and specimen location that the standard puts in the material specification.
The test order holds, because one mill’s published inspection sequence runs rub and forming checks before anything destructive, so the coupon that survives to the tape test is still the coupon that saw the bend. And where the mill report and your first article disagree, a named test settles it rather than a phone call, which is exactly why a flat-panel pass is not a forming pass.
The stretch goal is to run the same sequence at incoming QC and first-article approval, so the numbers accumulate across lots instead of restarting with each delivery.
Frequently asked questions
Can I use ISO 2409 instead of ASTM D3359?
Yes, if your end customer or destination market names it. The trap is direction: ISO 2409’s Gt0-to-Gt5 scale runs from Gt0 (0% removed, best) to Gt5 (over 65% removed, worst), while the cross-hatch tape test ASTM D3359 Method B runs 5B best to 0B worst. A “2” means opposite things on the two scales, which is the scale-direction trap that produces false pass verdicts. Cut spacing also differs: ISO 2409’s spacing table by thickness band sets the grid pitch from coating thickness. Pick one standard, name the method and edition, and write it into the PPGI acceptance criteria purchase order rather than leaving the choice to the supplier.
What should I do if the supplier report passes but my first article fails?
Check method, cut spacing, tape grade, and coupon preparation before concluding the material is at fault. A flat-panel pass is not a forming pass, so confirm both labs tested the same forming severity. Then re-run both under one standard on identically prepared coupons. The standard’s own precision statement allows roughly one rating unit of spread for the same operator and about two between labs, so a single-grade difference is not automatically a material defect.
How long does the full inspection sequence take?
Bench work is fast; chambers are the long pole. Visual baseline, rub checks, T-bend, cupping, and the cross-hatch tape test typically finish in under two hours on prepared coupons. Salt spray and humidity then run for hundreds of hours: the salt-spray hours quoted in PPGI trade practice are typically around 500 to 1,000 hours. Plan a first-article review around the chamber schedule, not the bench schedule.
Is salt spray testing worth the time if it does not predict service life?
Yes, for consistency, not for prediction. What ASTM B117 says about its own predictive limits is that standalone results have seldom correlated with natural-environment performance. Treat it as a comparative test, not a service-life prediction: fix the chamber, preparation, and exposure in the clause, and use it to catch batch-to-batch drift.
Conclusion
You now have a PPGI paint adhesion inspection sequence that runs non-destructive checks first, protects the forming tests, and saves the destructive cross-hatch tape test for last, so a single coupon can answer more than one question. You also have a defect-to-cause map and PO language in which every number names its governing standard, which is what makes a rejection arguable on the merits rather than on volume.
That ordering is not arbitrary: one mill’s published inspection sequence follows the same logic, and why a flat-panel pass is not a forming pass is the single most common source of avoidable dispute. When acceptance criteria are written this way, disagreements are settled by a named test rather than by negotiation, and the standard puts sampling and specimen location in the material specification, where both parties can point to it.
If you are still choosing a coating system or a supplier, send your current specification and the forming severity of the actual part for parameter review before committing to a trial. Witop Steel supports that review as a coated-steel supplier, and the exercise helps both sides agree on the test sequence and acceptance values before the first coil ships.