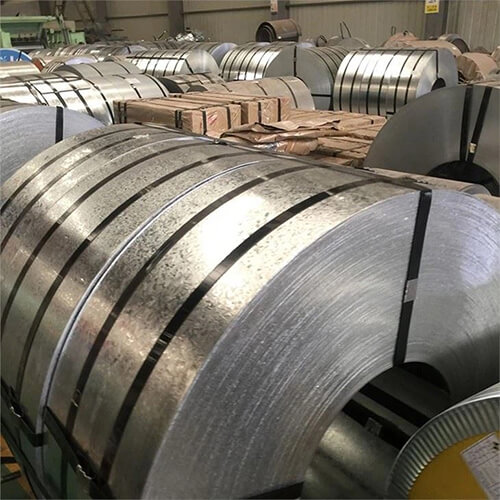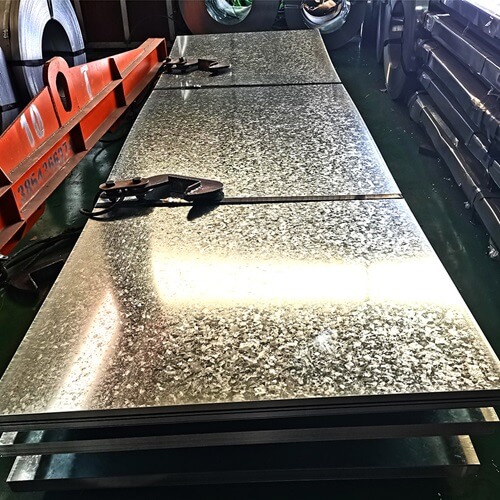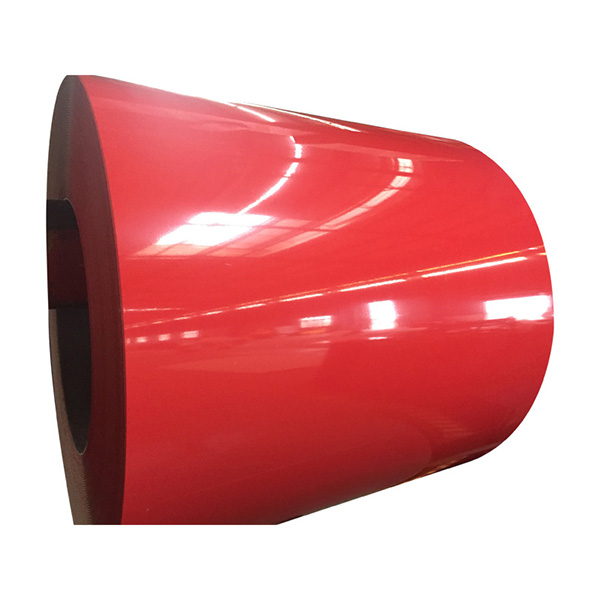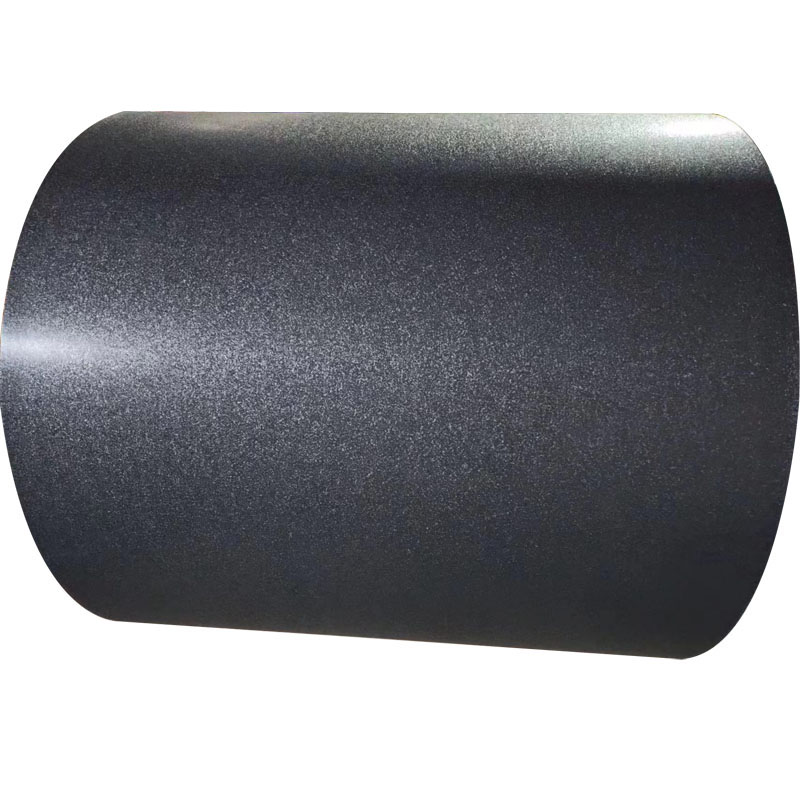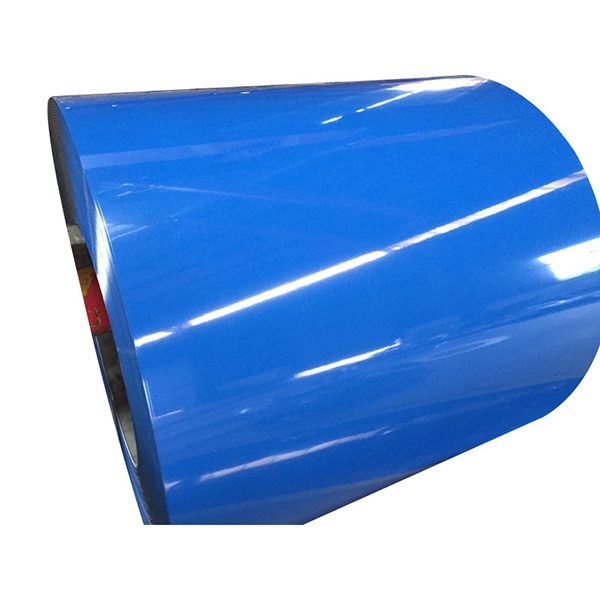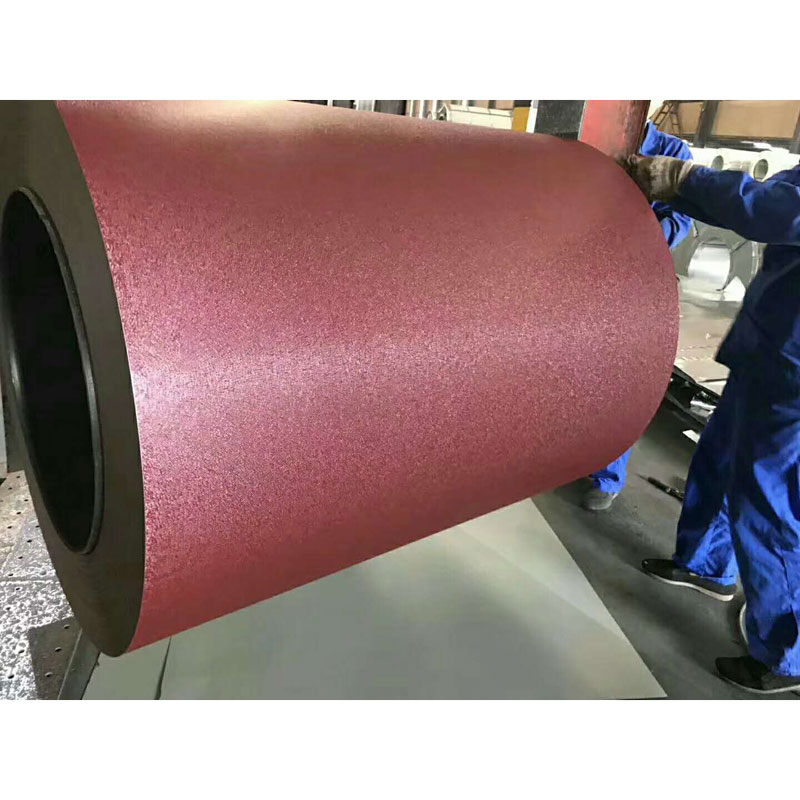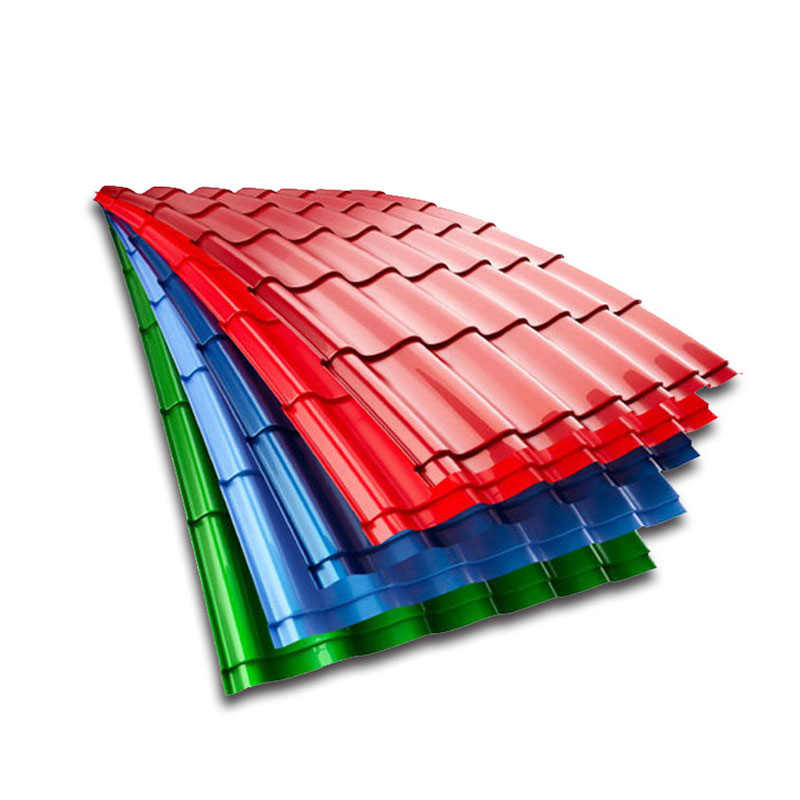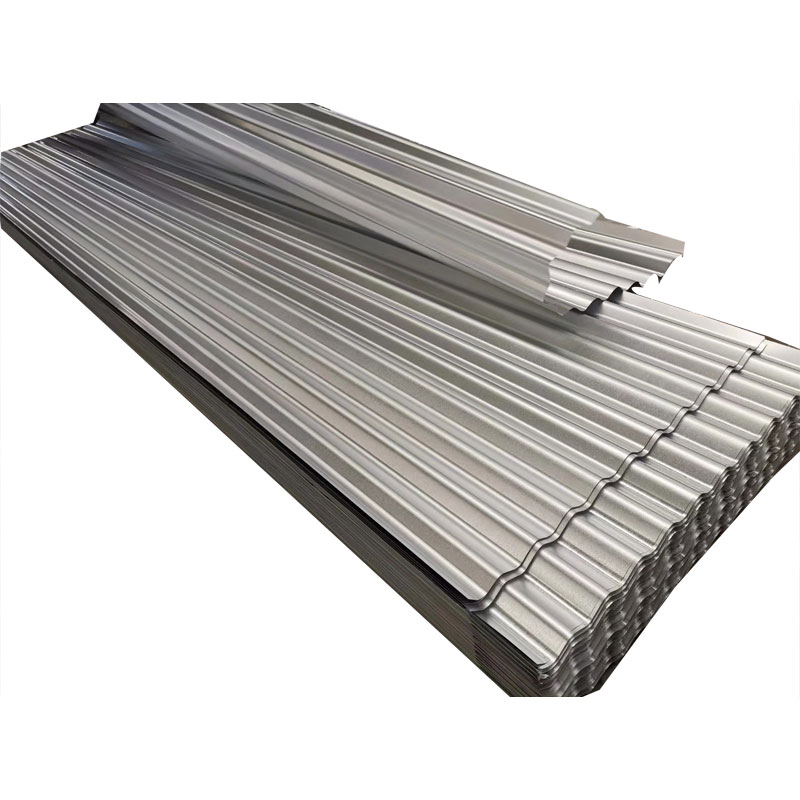
You must pay close attention during Aluzinc Steel Coil Inspection Before Roll Forming. Rust and corrosion can lower the quality of your steel coils. Surface defects may cause problems during roll forming. Coating thickness affects the strength and durability of the finished product.
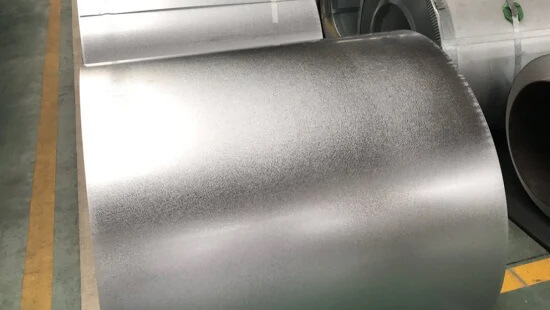
- Check for rust, black spots, or scratches.
- Measure thickness at several points.
Missed defects can lead to wasted materials and lower production efficiency.
Key Takeaways
- Inspect Aluzinc steel coils carefully to catch defects early. This practice prevents wasted materials and improves production efficiency.
- Gather and check all necessary inspection tools before starting. Use a flashlight, thickness gauge, and inspection mirror to ensure thorough checks.
- Calibrate your measuring devices at the start of each shift. Accurate readings are crucial for reliable inspections.
- Wear personal protective equipment (PPE) during inspections. Safety glasses, gloves, and steel-toed boots protect you from potential injuries.
- Perform a visual surface check under direct light. Look for scratches, dents, and uneven coating to identify surface flaws.
- Document all defects in an inspection log. Record the coil number, defect type, and actions taken to maintain clear records.
- Tag and isolate defective coils immediately. This step prevents accidental use and keeps your production line running smoothly.
- Regular training and adherence to best practices enhance inspection quality. Focus on prevention to reduce defects and improve overall efficiency.
Preparation Steps
Before you start inspecting Aluzinc steel coils, you need to prepare carefully. Good preparation helps you spot defects early and keeps your inspection reliable. You should follow a checklist and use proper safety measures. This section guides you through the essential steps.
Tool Checklist
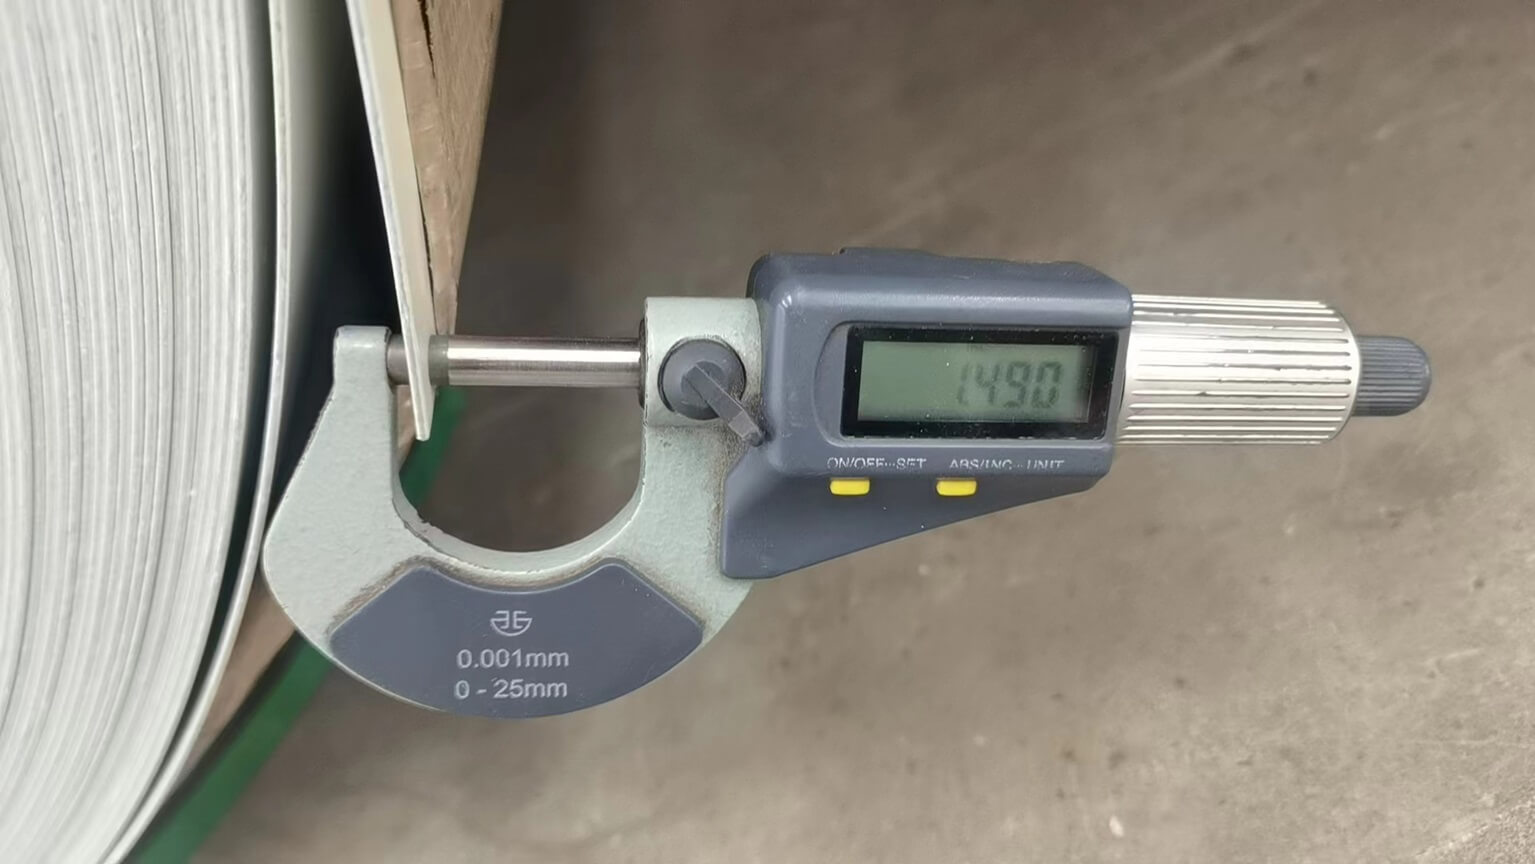
Inspection tools
You must gather all necessary tools before you begin. These tools help you check the coil’s surface, thickness, and coating. Here is a list of basic inspection tools:
- Thickness gauge
- Magnetic induction gauge
- Tape measure
- Marking pen
- Inspection log sheet
You should check each tool for damage or wear. Clean the tools to avoid contamination. Organize them so you can reach them quickly during inspection.
Calibration
You need to calibrate your measuring devices. Calibration ensures your readings are accurate. You should follow the manufacturer’s instructions for each tool. If you use a thickness gauge, set it to zero before measuring. For a magnetic induction gauge, use a standard sample to check accuracy.
Tip: Calibrate your tools at the start of each shift. This practice prevents errors and keeps your inspection consistent.
You can improve inspection reliability by using independent operators or different techniques for repeat checks. Sometimes, third-party witnesses add credibility to your process. Qualification and training help you maintain high standards.
| Evidence Supporting Preparation in Coil Inspection Effectiveness |
|---|
| Auditing NDT processes with independent operators to ensure reliability. |
| Employing different personnel or techniques for repeat inspections. |
| Witnessing inspections by independent third parties to enhance credibility. |
| Establishing capability through qualification to ensure high standards. |
Safety Measures
PPE
You must protect yourself during coil inspection. Personal protective equipment (PPE) reduces the risk of injury. Wear gloves to protect your hands from sharp edges. Safety glasses shield your eyes from dust and debris. Steel-toed boots prevent foot injuries. If you work in noisy areas, use ear protection.
Coil handling
You need to handle coils with care. Aluzinc steel coils are heavy and can cause accidents if moved incorrectly. Use proper lifting equipment, such as coil lifters or forklifts. Make sure the area is clear before moving a coil. Never try to lift a coil by yourself. Always follow your facility’s safety rules.
Note: Safe handling prevents injuries and keeps your inspection area organized.
Careful preparation sets the stage for a successful inspection. When you gather the right tools, calibrate them, and follow safety rules, you improve your chances of finding defects early. You also protect yourself and your team. Preparation is the foundation of quality coil inspection.
Aluzinc Steel Coil Inspection Before Roll Forming
Visual Surface Check
Direct light inspection
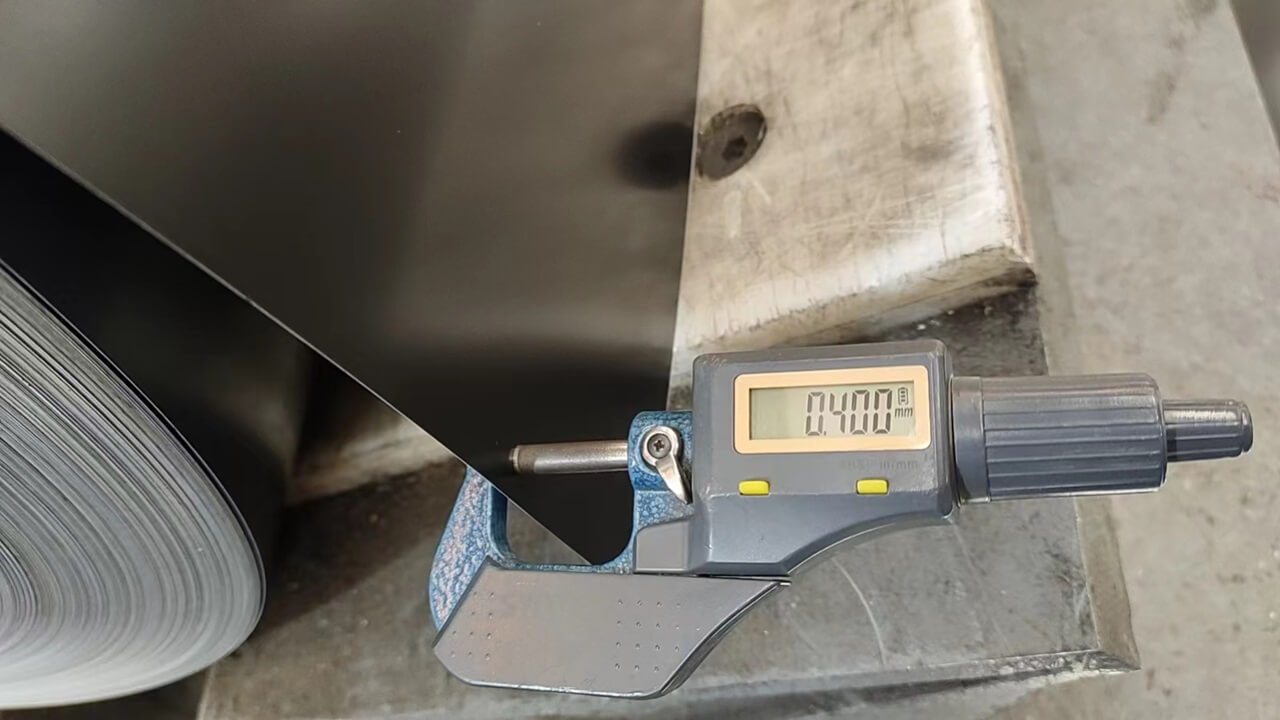
Start your Aluzinc Steel Coil Inspection Before Roll Forming by examining the coil under direct light. Good lighting helps you spot surface flaws quickly. Stand at different angles and look for scratches, dents, or uneven coating. Move the coil slowly if possible. This method reveals imperfections that might hide in shadows. You can use natural sunlight or strong LED lamps for the best results.
Tip: Always inspect both the top and bottom surfaces. Some defects only appear on one side.
Inspection mirror and flashlight
Use an inspection mirror and a flashlight to check hard-to-see areas. Shine the flashlight along the coil’s surface and use the mirror to view the underside or tight spaces. This step helps you find hidden defects that direct light might miss. Pay close attention to the edges and inner layers. You want to catch every flaw before roll forming begins.
Rust and Corrosion Detection
Black spots
Look for black spots during your Aluzinc Steel Coil Inspection Before Roll Forming. Black spots often signal early corrosion or contamination. These spots can weaken the steel and affect the final product. Mark any black spots you find and record their location in your inspection log.
White rust
White rust appears as a powdery or chalky deposit on the coil’s surface. This type of corrosion forms when moisture reacts with the zinc coating. White rust can reduce the coil’s protective properties. If you see white rust, note the affected area and consider isolating the coil for further evaluation.
Red rust
Red rust is a sign of exposed steel and advanced corrosion. You must take red rust seriously during Aluzinc Steel Coil Inspection Before Roll Forming. Red rust often means the protective coating has failed. If you find red rust, tag the coil immediately and follow your facility’s defect management procedures.
| Rust Type | Appearance | Action Required |
|---|---|---|
| Black spots | Dark, small marks | Mark and log for review |
| White rust | Chalky, white film | Note and isolate if extensive |
| Red rust | Reddish patches | Tag and isolate immediately |
Edge and End Review
Burrs
Check the coil’s edges for burrs. Burrs are sharp, raised edges that can cause problems during roll forming. Run your gloved hand gently along the edge. If you feel any roughness or sharp points, mark the area. Burrs can damage equipment or lead to poor product quality.
Deformation
Inspect the ends and edges for deformation. Look for bends, waves, or flattened sections. Deformation can make the coil difficult to feed into roll forming machines. Use a straight edge or ruler to check for flatness. Record any deformed areas in your inspection log and decide if the coil needs repair or replacement.
Note: Careful edge and end review helps prevent machine jams and ensures smooth production.
You improve your production quality when you follow these steps for Aluzinc Steel Coil Inspection Before Roll Forming. Careful inspection helps you catch defects early and avoid costly mistakes later.
Dimensional Verification
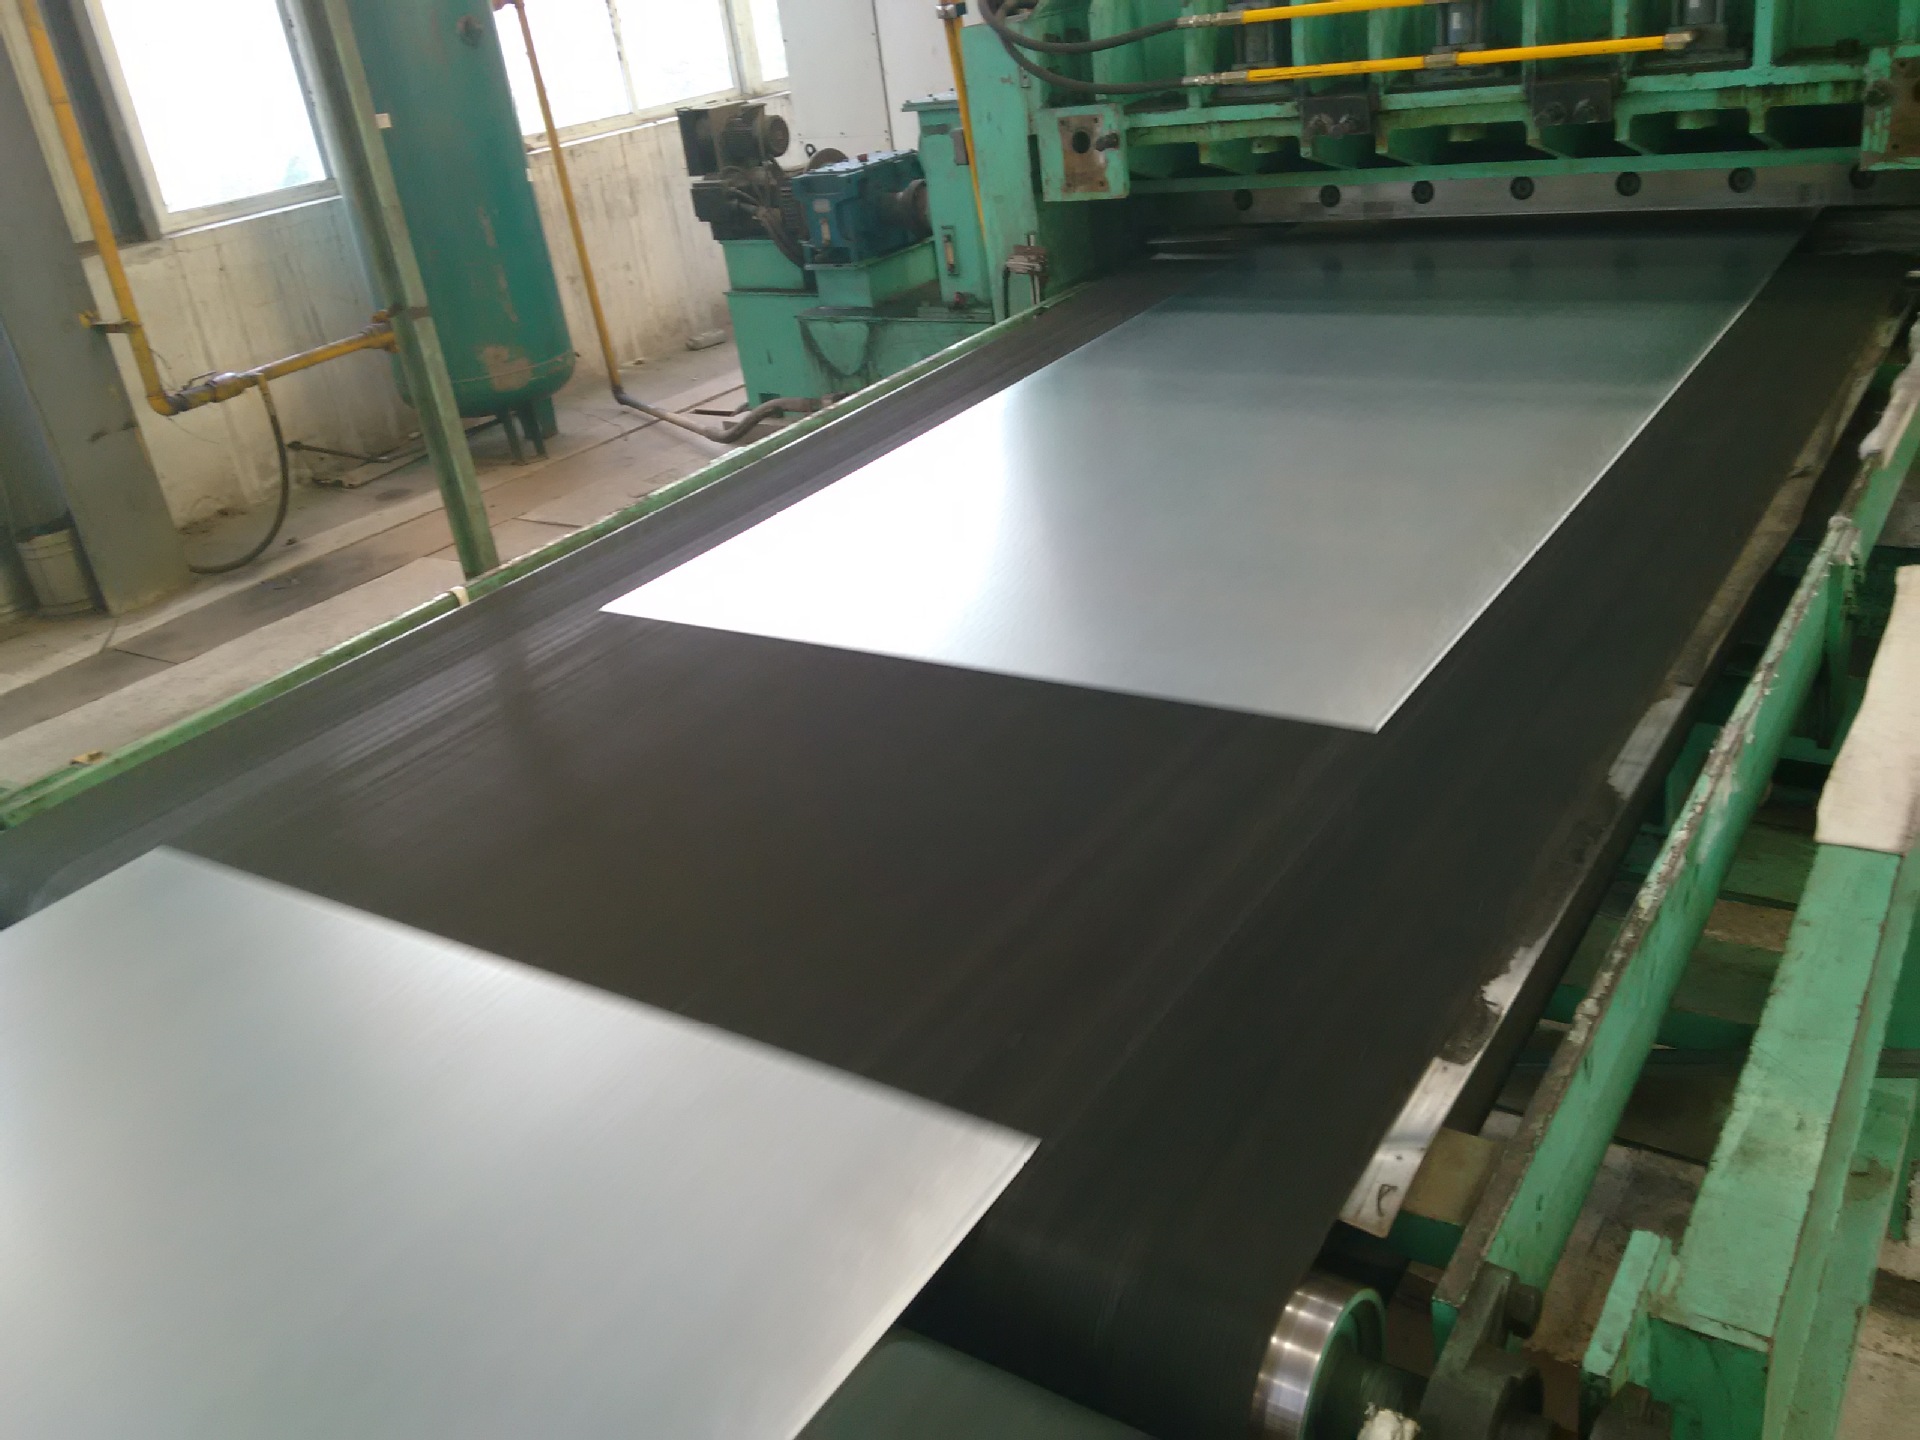
Dimensional verification helps you confirm that your Aluzinc steel coils meet the requirements for roll forming. You need to check thickness, width, weight, length, flatness, and shape. These checks prevent production issues and ensure consistent quality.
Thickness and Width
Thickness gauge
You should use a thickness gauge to measure the coil’s thickness. Place the gauge at several points along the coil. This tool gives you accurate readings and helps you spot variations. Always check the gauge for calibration before use. If you find any readings outside the expected range, mark the area for further review.
Multiple positions
Measure thickness at multiple positions across the coil. Start at the center, then move to the edges. This method helps you detect uneven thickness, which can cause problems during roll forming. Record each measurement in your inspection log. Compare your results to industry standards.
| Parameter | Range |
|---|---|
| Thickness | 0.23mm – 3.0mm |
| Width | 900mm – 1250mm |
You need to verify that your coil falls within these ranges. If your coil does not meet these standards, you may face issues during Aluzinc Steel Coil Inspection Before Roll Forming.
Tip: Consistent thickness and width help you achieve smooth feeding and accurate forming.
Weight and Length
Weight calculation
Calculate the coil’s weight using a scale or by referencing the manufacturer’s data. Accurate weight helps you plan for handling and storage. If the weight does not match the expected value, check for missing material or defects.
Length check
Measure the coil’s length with a tape measure. Start at one end and stretch the tape along the coil. Record the length in your log sheet. Length verification ensures you have enough material for your production run.
- Use a tape measure for length.
- Compare weight and length to your order specifications.
Note: Proper weight and length checks prevent shortages and overages in your production.
Flatness and Shape
Flatness assessment
Assess the coil’s flatness by placing a straight edge along the surface. Look for gaps or waves. Flatness problems can cause feeding issues in roll forming machines. If you see any uneven areas, mark them for further inspection.
Shape issues
Check for shape issues such as camber, bow, or edge waves. These defects can affect the coil’s performance during roll forming. Use visual inspection and simple tools like rulers or squares. Record any shape problems in your inspection log.
Callout: Address flatness and shape issues early to avoid machine jams and poor product quality.
Dimensional verification gives you confidence that your coil will perform well during roll forming. Careful checks help you catch problems before they affect your production.
Coating Quality Tests
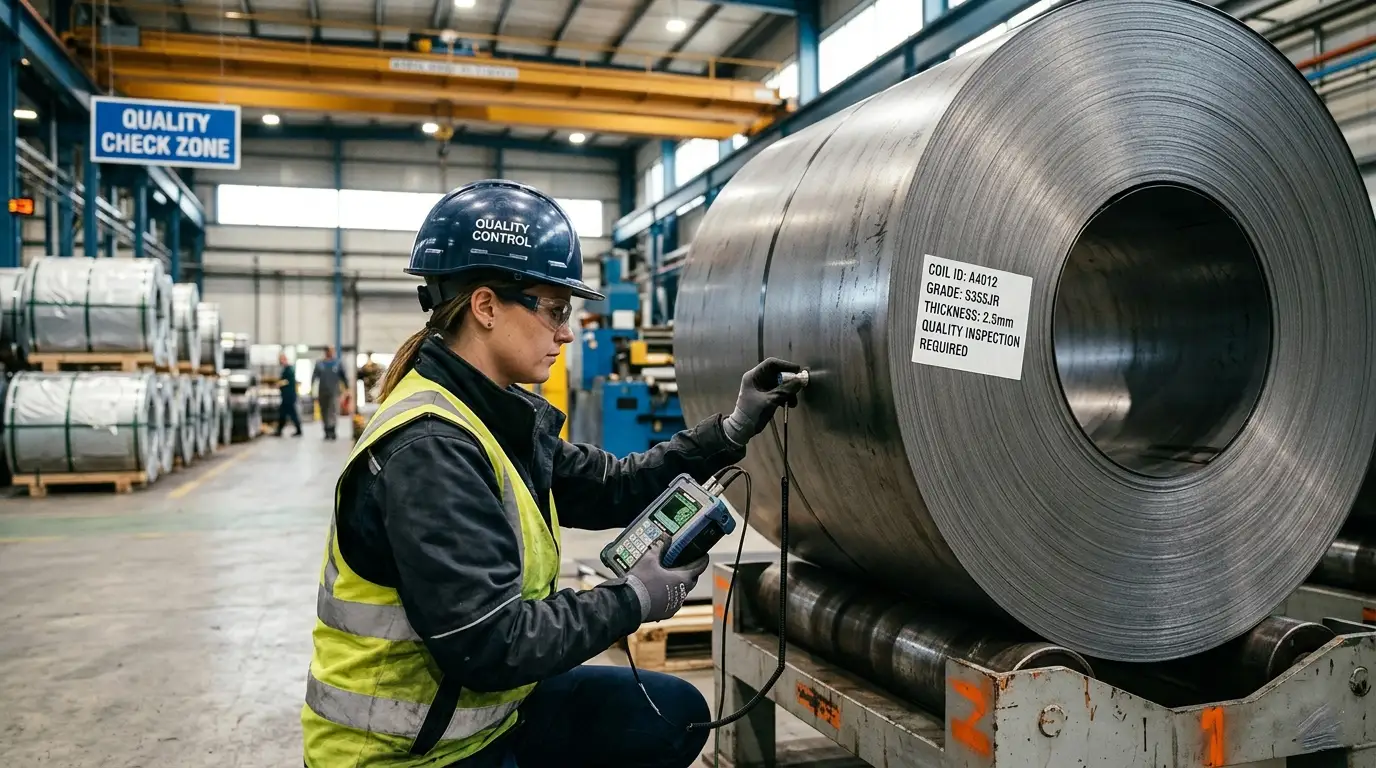
You need to check the coating quality during Aluzinc Steel Coil Inspection Before Roll Forming. The coating protects the steel from rust and damage. If the coating fails, the coil will not last long in service. You can use several tests to make sure the coating meets your standards.
Coating Thickness
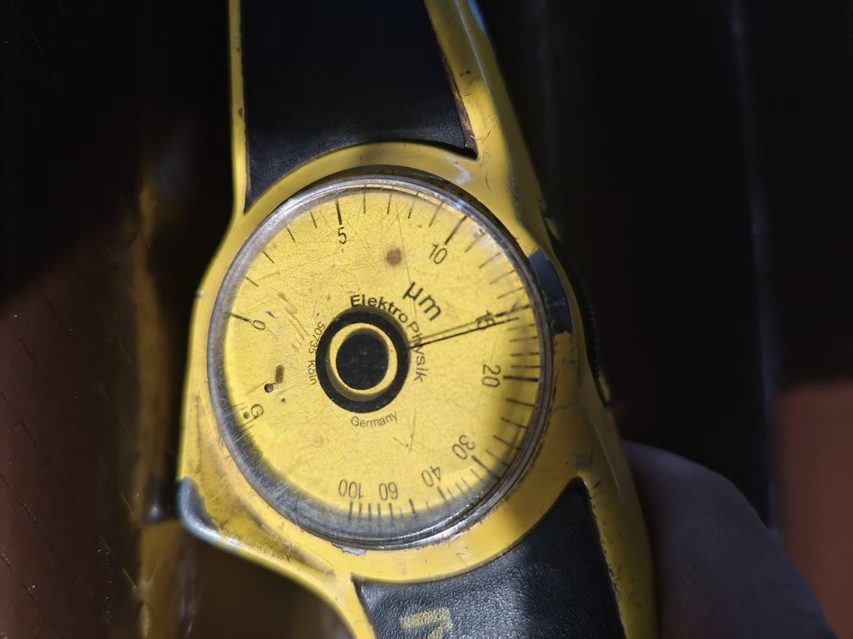
Magnetic induction gauge
You should use a magnetic induction gauge to measure the thickness of the Aluzinc coating. This tool gives you a quick and accurate reading. Place the probe flat on the coil surface. Wait for the reading to stabilize before recording the value. Repeat this process for each spot you want to check.
Edge and center measurement
You must measure both the edge and the center of the coil. The coating can be thinner at the edges. Take readings at several points across the width. Record each value in your inspection log. Compare your results to the required thickness range for your product.
Tip: Consistent coating thickness helps prevent early rust and ensures even protection.
Adhesion and Bending
Tape test
You can use a tape test to check how well the coating sticks to the steel. Press a piece of strong adhesive tape onto the coated surface. Pull the tape off quickly. Look at the tape and the coil. If you see flakes or large pieces of coating on the tape, the adhesion is poor.
Bending test for cracks
You should also perform a bending test. Bend a small sample of the coil to a set angle. Check the bent area for cracks or peeling. Good coating will stay smooth and unbroken. Cracks or flakes show that the coating may fail during roll forming.
Adhesion tests give you a clear view of the bond between the coating and the steel. These tests measure the force needed to pull the coating away. They also show if the failure happens at the bond or within the coating itself. This information helps you find weak spots and make sure your coils meet industry standards.
| Test Type | What to Look For | What It Means |
|---|---|---|
| Tape Test | Flakes on tape | Poor adhesion |
| Bending Test | Cracks or peeling | Weak or brittle coating |
Corrosion Resistance

Salt spray test
You can use a salt spray test to check corrosion resistance. Place a sample of the coil in a salt spray chamber. Expose it to a fine mist of saltwater for a set time. After the test, look for signs of rust or coating breakdown. This test shows how well the coating will protect the steel in harsh conditions.
Visual signs
You should also look for early signs of corrosion during your inspection. Watch for white rust, black spots, or red rust. These signs mean the coating may not protect the steel as it should.
Note: Early detection of coating problems helps you avoid costly failures in production.
You improve your product quality when you use these coating quality tests during Aluzinc Steel Coil Inspection Before Roll Forming. Careful testing helps you catch problems before they reach your customers.
Defect Management
Proper defect management helps you maintain high-quality standards and prevent defective coils from entering production. You need to act quickly when you find a problem. This section guides you through tagging, isolating, and documenting defective coils, as well as planning your next steps.
Tagging and Isolation
Immediate tagging
When you spot a defect during inspection, you must tag the coil right away. Use a bright, durable tag or sticker. Write clear information on the tag, such as the defect type, location, and date. This step alerts everyone that the coil needs attention.
- Use red or yellow tags for easy visibility.
- Include your initials and the inspection shift.
- Place the tag where it is easy to see.
Tip: Immediate tagging prevents accidental use of defective coils and keeps your team informed.
Isolation procedures
After tagging, you need to move the defective coil to a designated isolation area. This area should be marked and separated from approved coils. Use proper lifting equipment to avoid damage or injury. Make sure you follow your facility’s safety rules during this process.
- Store isolated coils on racks or pallets.
- Keep a safe distance from production lines.
- Update the isolation log with coil details.
Isolation stops defective coils from mixing with good stock. It also makes it easier to review and decide on the next steps.
Reporting and Documentation
Inspection log
You must record every defect in your inspection log. Write down the coil number, defect type, location, and actions taken. Use a standard format for consistency. Accurate logs help you track recurring issues and improve your inspection process.
| Coil Number | Defect Type | Location | Action Taken | Date | Inspector |
|---|---|---|---|---|---|
| 10234 | Red rust | Edge | Tagged/Isolated | 2024-06-10 | J. Smith |
Note: Well-kept logs support traceability and help you analyze trends over time.
Action plan
Once you document the defect, you need to decide what to do next. Communicate with your supervisor or quality team. Review the defect and choose an action, such as repair, return, or scrap. Make sure you update your records with the final decision.
- Notify the responsible department.
- Schedule a review if needed.
- Record the outcome in your log.
Clear communication ensures everyone knows the status of each coil. You reduce confusion and keep your production line running smoothly.
Callout: Effective defect management protects your reputation and saves costs by stopping problems before they reach your customers.
Common Coil Defects
You need to recognize common defects in Aluzinc steel coils before roll forming. These defects can affect the quality of your finished products and cause problems during manufacturing. Understanding the types of defects helps you take action early.
Surface Issues
Scratches
Scratches appear as thin lines or marks on the coil’s surface. You often find them after handling or during storage. Scratches can weaken the protective coating and expose the steel underneath. If you see scratches, mark them in your inspection log. Deep scratches may require repair or isolation.
Coating failures
Coating failures include peeling, flaking, or uneven coverage. You might notice these issues during visual checks or adhesion tests. Poor coating can lead to rust and reduce the coil’s lifespan. Always check for areas where the coating looks thin or damaged. Record any failures and decide if the coil needs further testing.
Tip: Surface issues can lead to early corrosion. Address them quickly to protect your product.
Edge Problems
Burrs
Burrs are sharp, raised edges that form during cutting or slitting. You can feel burrs when you run your gloved hand along the coil’s edge. Burrs may damage roll forming equipment or cause injuries. Remove burrs with proper tools or isolate the coil if the problem is severe.
Damage
Edge damage includes dents, bends, or cracks. You often see this after improper handling or transport. Damaged edges make feeding difficult and can cause jams in roll forming machines. Inspect edges carefully and record any damage. Decide if you need to repair or replace the coil.
| Edge Problem | How to Identify | Action |
|---|---|---|
| Burrs | Sharp, rough edges | Remove or isolate |
| Damage | Dents, bends, cracks | Repair or replace |
Solutions
Repair options
You can repair minor defects with simple tools. For scratches, use touch-up paint or sealant to restore the coating. Remove burrs with a deburring tool. If you find coating failures, apply a protective layer or isolate the coil for further treatment. Edge damage sometimes requires trimming or reshaping.
Prevention
You prevent defects by handling coils carefully and storing them in dry, clean areas. Use proper lifting equipment and avoid stacking coils too high. Moisture is a major cause of corrosion. You can use moisture barriers to protect your coils.
DryMet acts as a moisture barrier that prevents corrosion, which is a common issue with metal jacketing systems, including Aluzinc steel coils. It extends the service life of your system by stopping water from entering and causing rust.
Regular training and clear inspection procedures help you reduce defects. You improve quality and efficiency when you focus on prevention.
You improve your production quality when you follow each inspection step for Aluzinc steel coils. Check for surface defects, measure dimensions, and test the coating. Tag and isolate any defective coils. Keep clear records of your findings.
- Use the right tools and safety gear
- Inspect every coil before roll forming
- Document and report all defects
Ongoing training and best practices help you maintain high standards and avoid costly mistakes.
FAQ
What is Aluzinc steel coil?
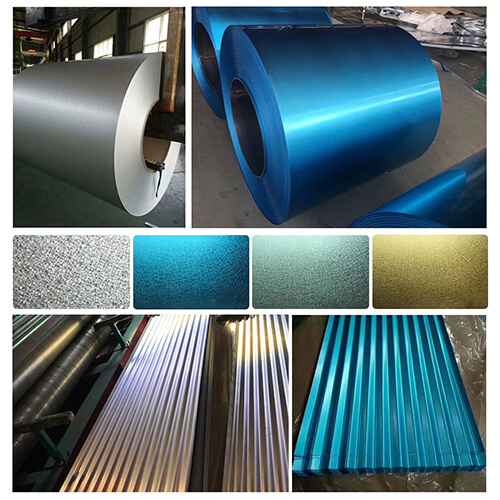
Aluzinc steel coil is a steel sheet coated with an alloy of aluminum, zinc, and silicon. You get strong corrosion resistance and a shiny surface. This material works well for roofing, wall panels, and other construction uses.
Why should you inspect coils before roll forming?
You must inspect coils to catch defects early. This step helps you avoid machine jams, wasted materials, and poor product quality. Inspection keeps your production line running smoothly.
Which tools do you need for coil inspection?
You need a flashlight, inspection mirror, thickness gauge, magnetic induction gauge, tape measure, and marking pen. Always check and calibrate your tools before starting.
How do you spot rust on Aluzinc coils?
Look for black spots, white powdery areas, or reddish patches. Use direct light and a flashlight for a better view. Mark any rust you find and record it in your log.
What should you do if you find a defect?
Tag the coil right away. Move it to an isolation area. Record the defect in your inspection log. Notify your supervisor or quality team for the next steps.
How often should you calibrate your inspection tools?
You should calibrate your tools at the start of each shift. This practice ensures accurate measurements and reliable inspection results.
Can you repair minor coil defects?
Yes, you can repair small scratches or burrs with touch-up paint or a deburring tool. For larger defects, isolate the coil and ask your quality team for advice.